Furniture Makeover
I am a great believer in reusing, recycling and repurposing.
It brings me so much joy to up-cycle and rejuvenate an item of furniture that has passed its best in its current state. Giving it a makeover and a new lease of life - a chance to shine!
I love seeing quirky pieces in people’s homes. Something that no-one else would have.
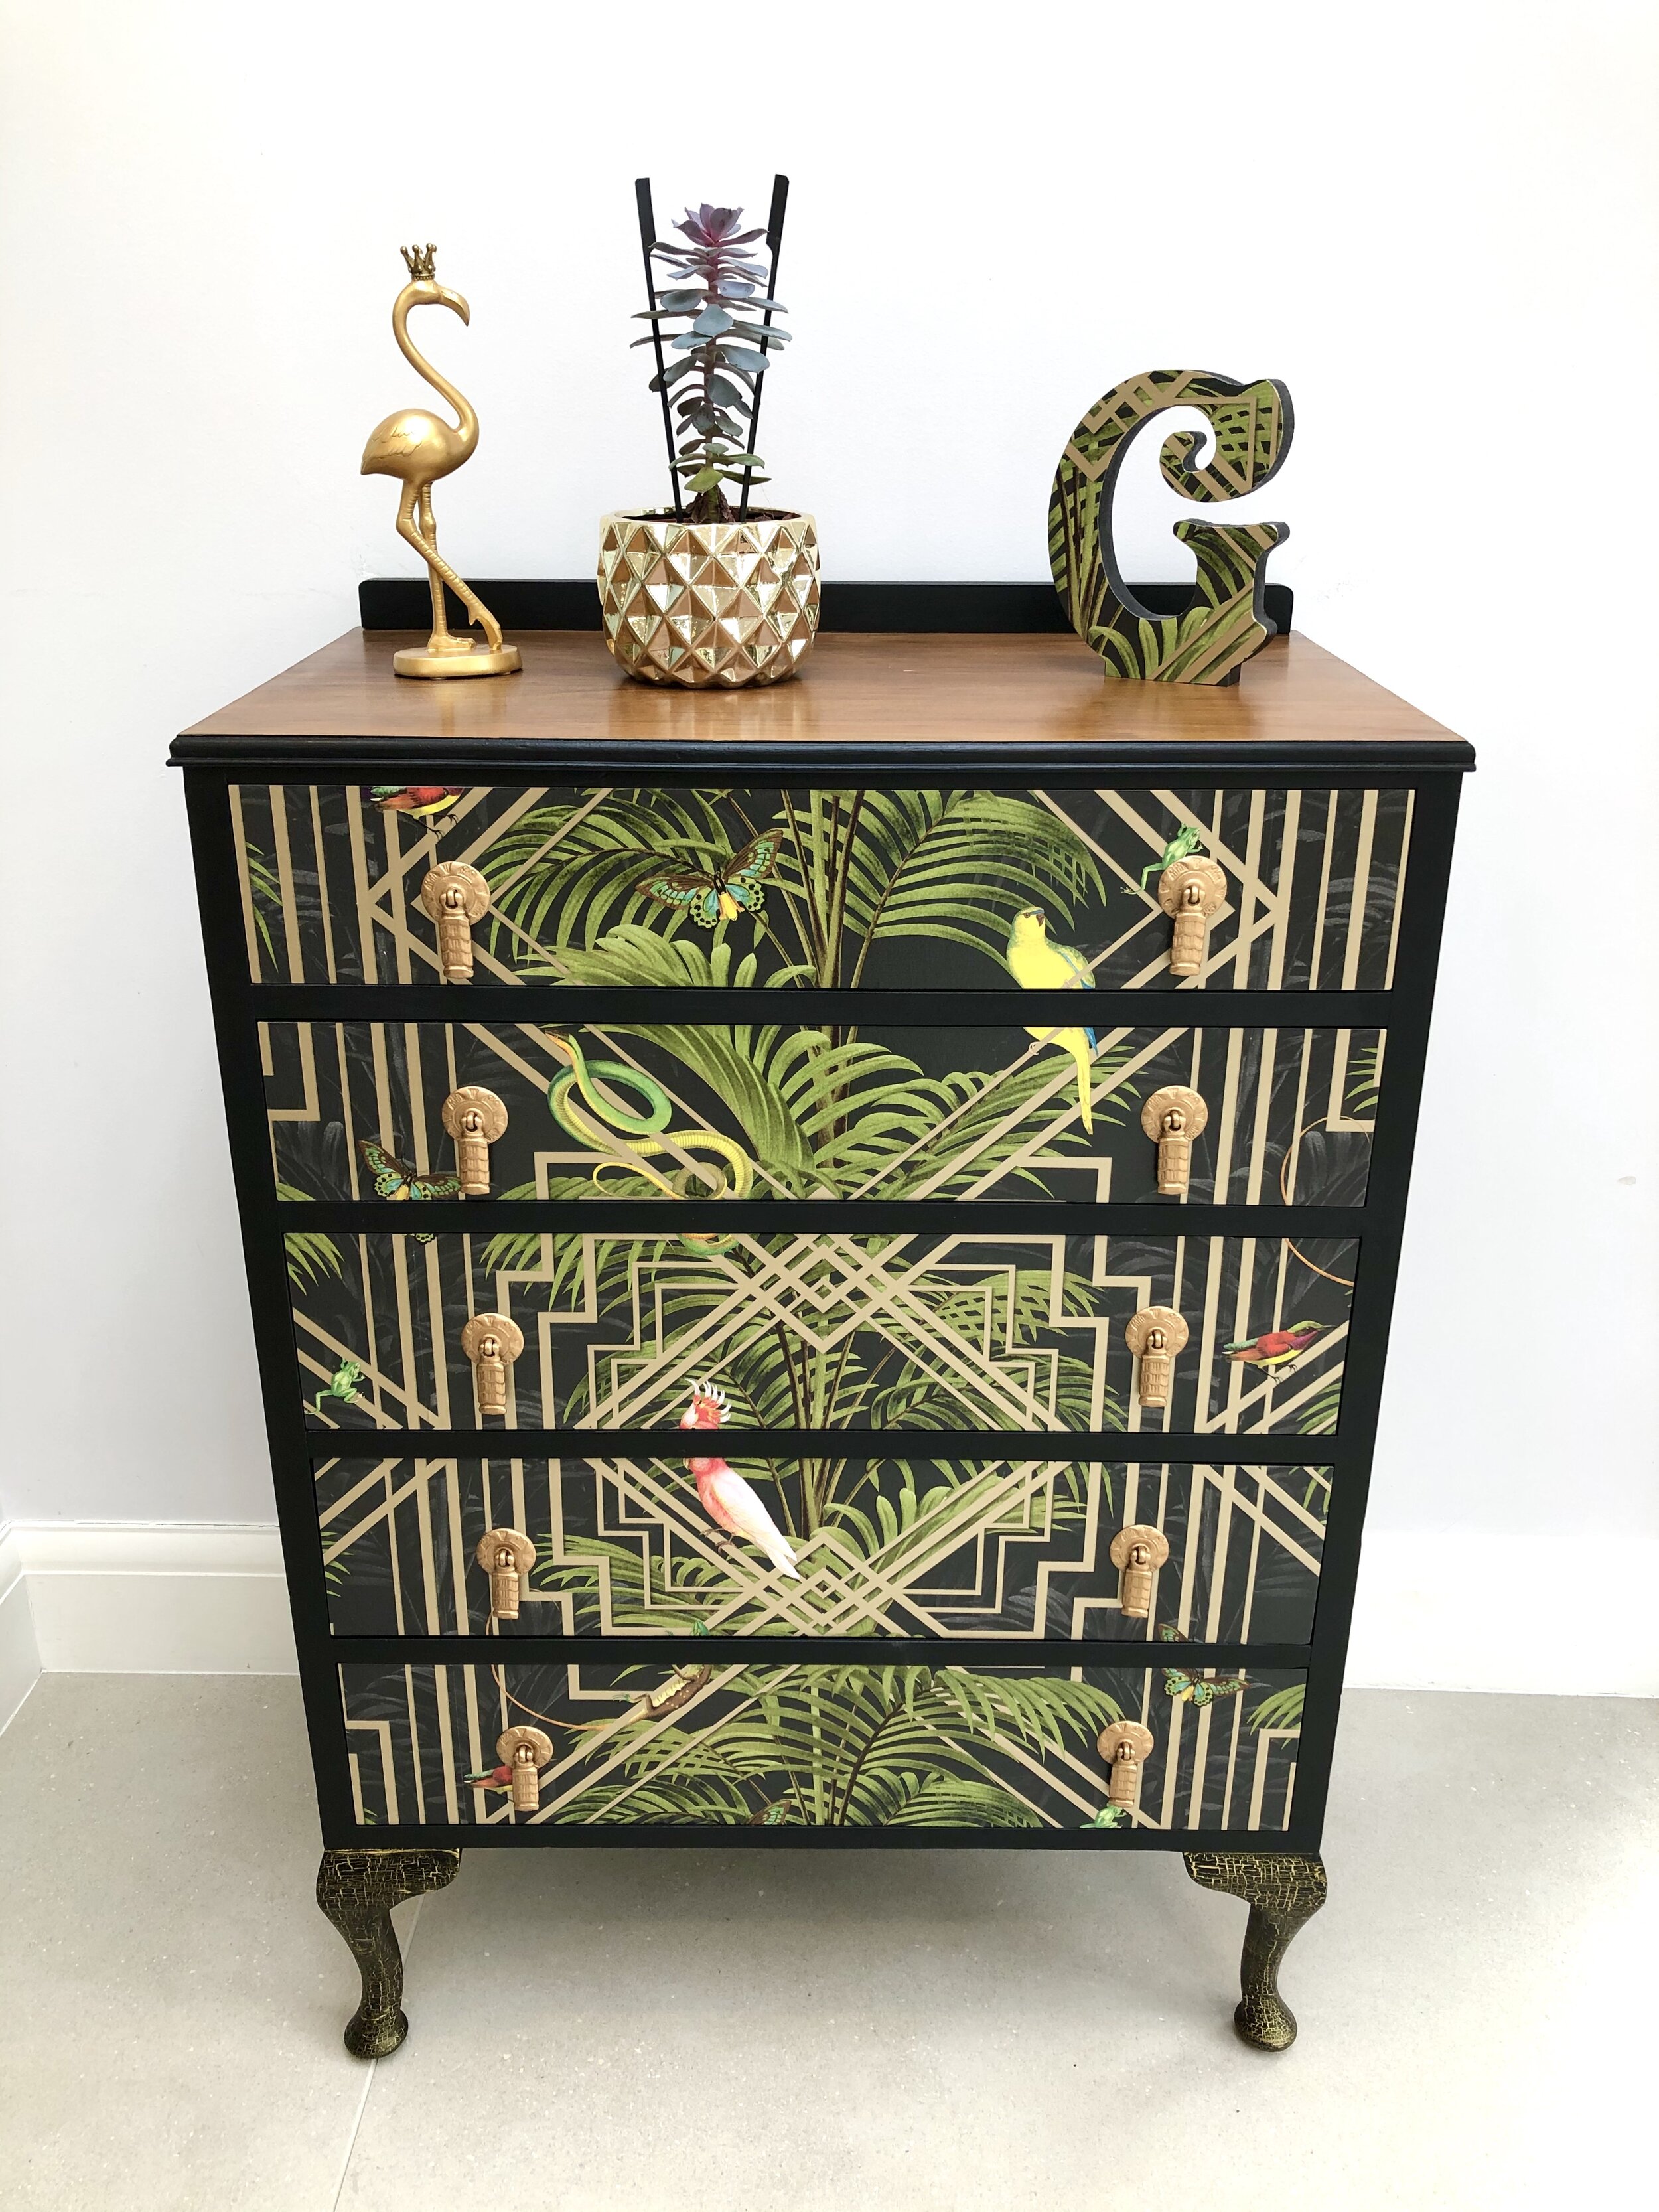
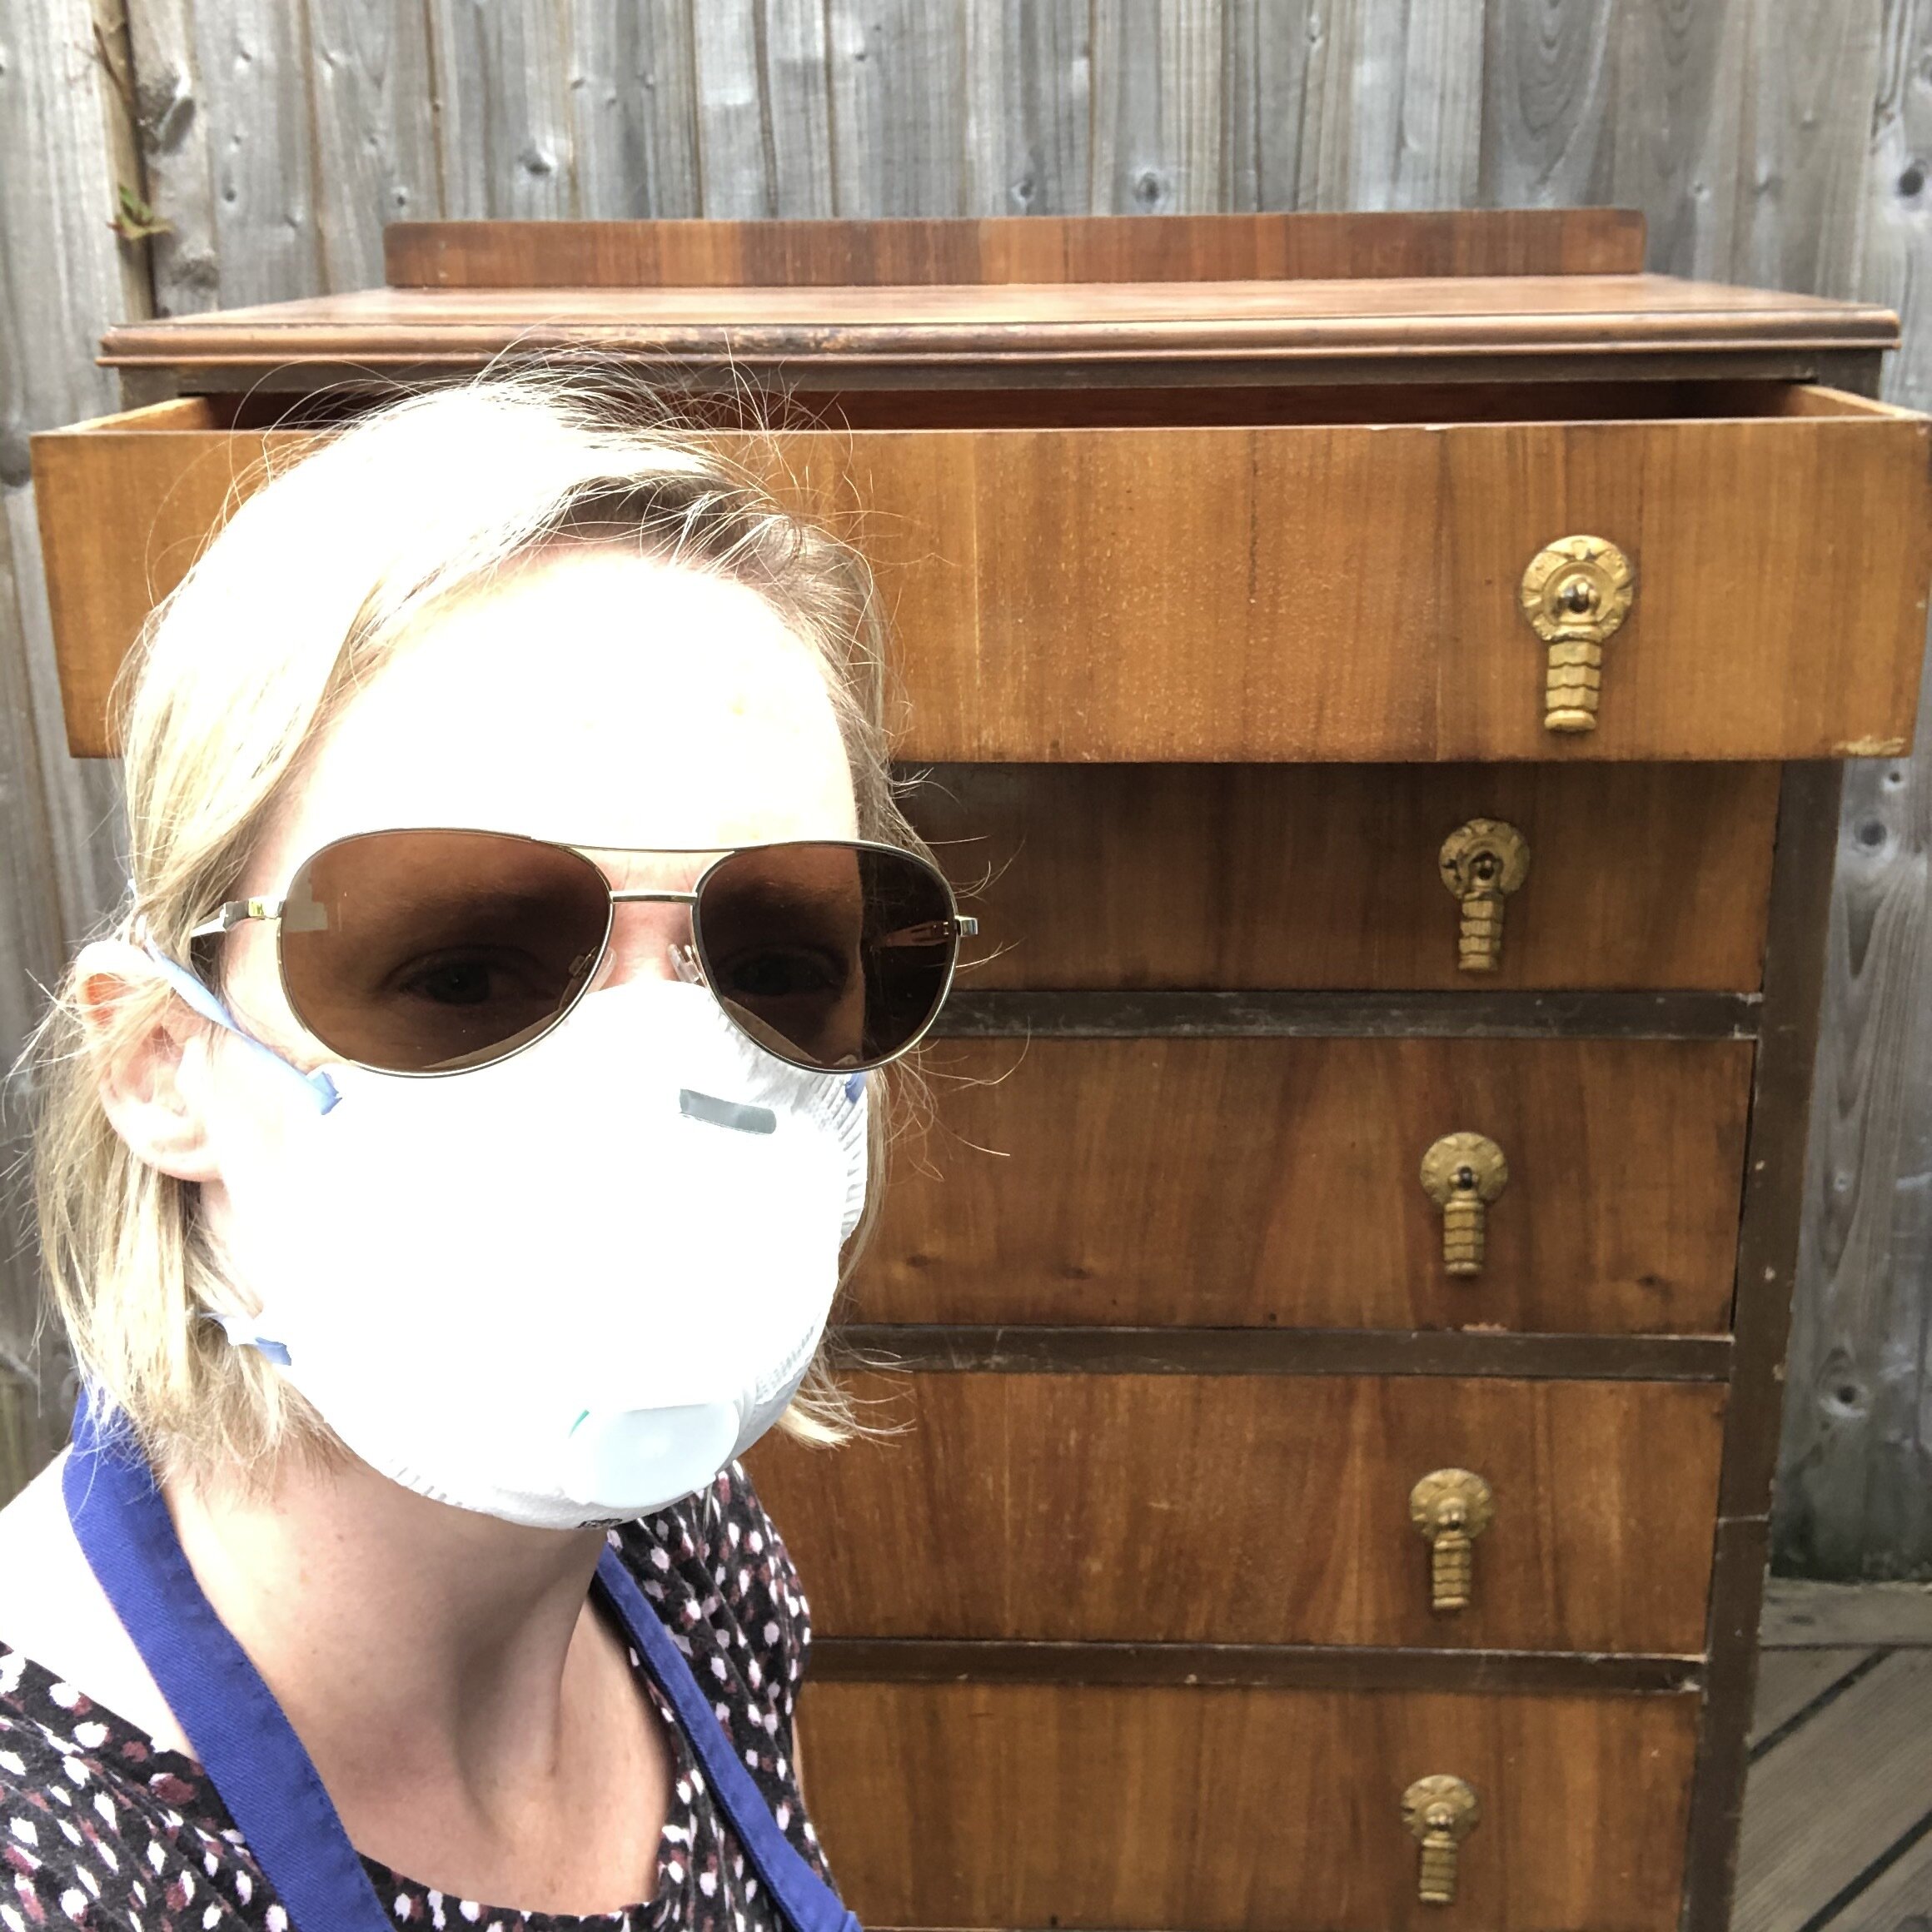
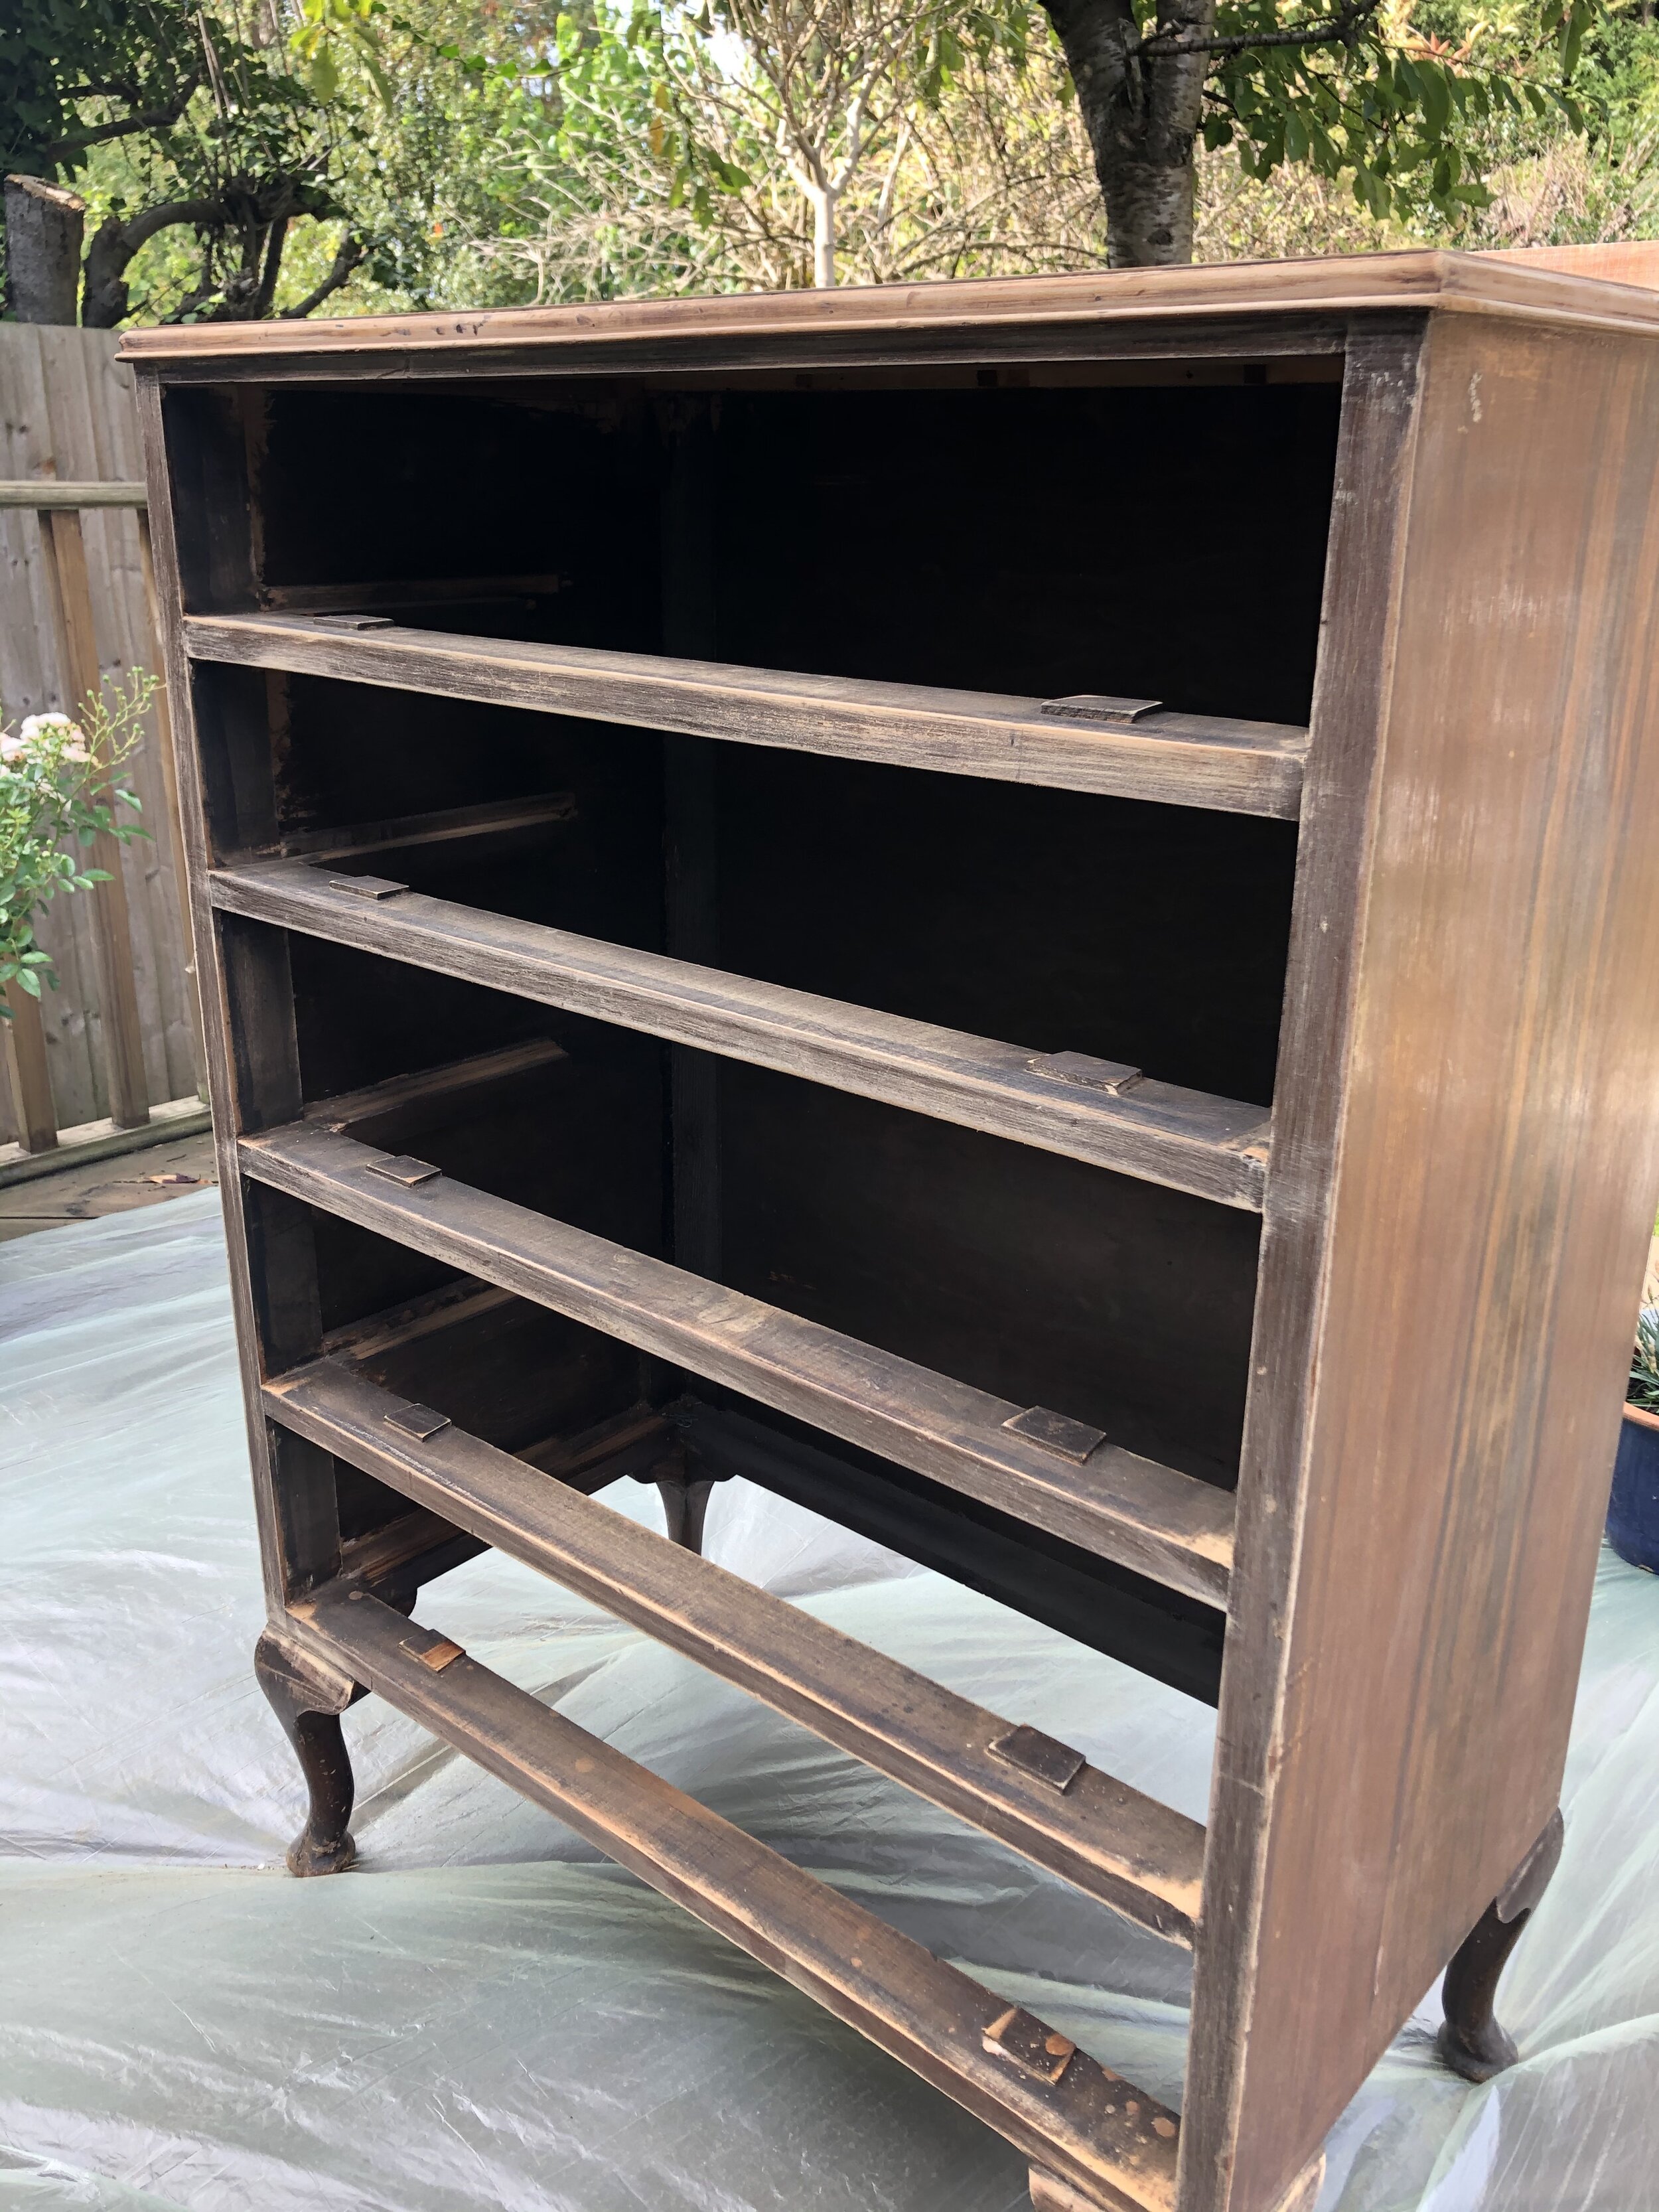
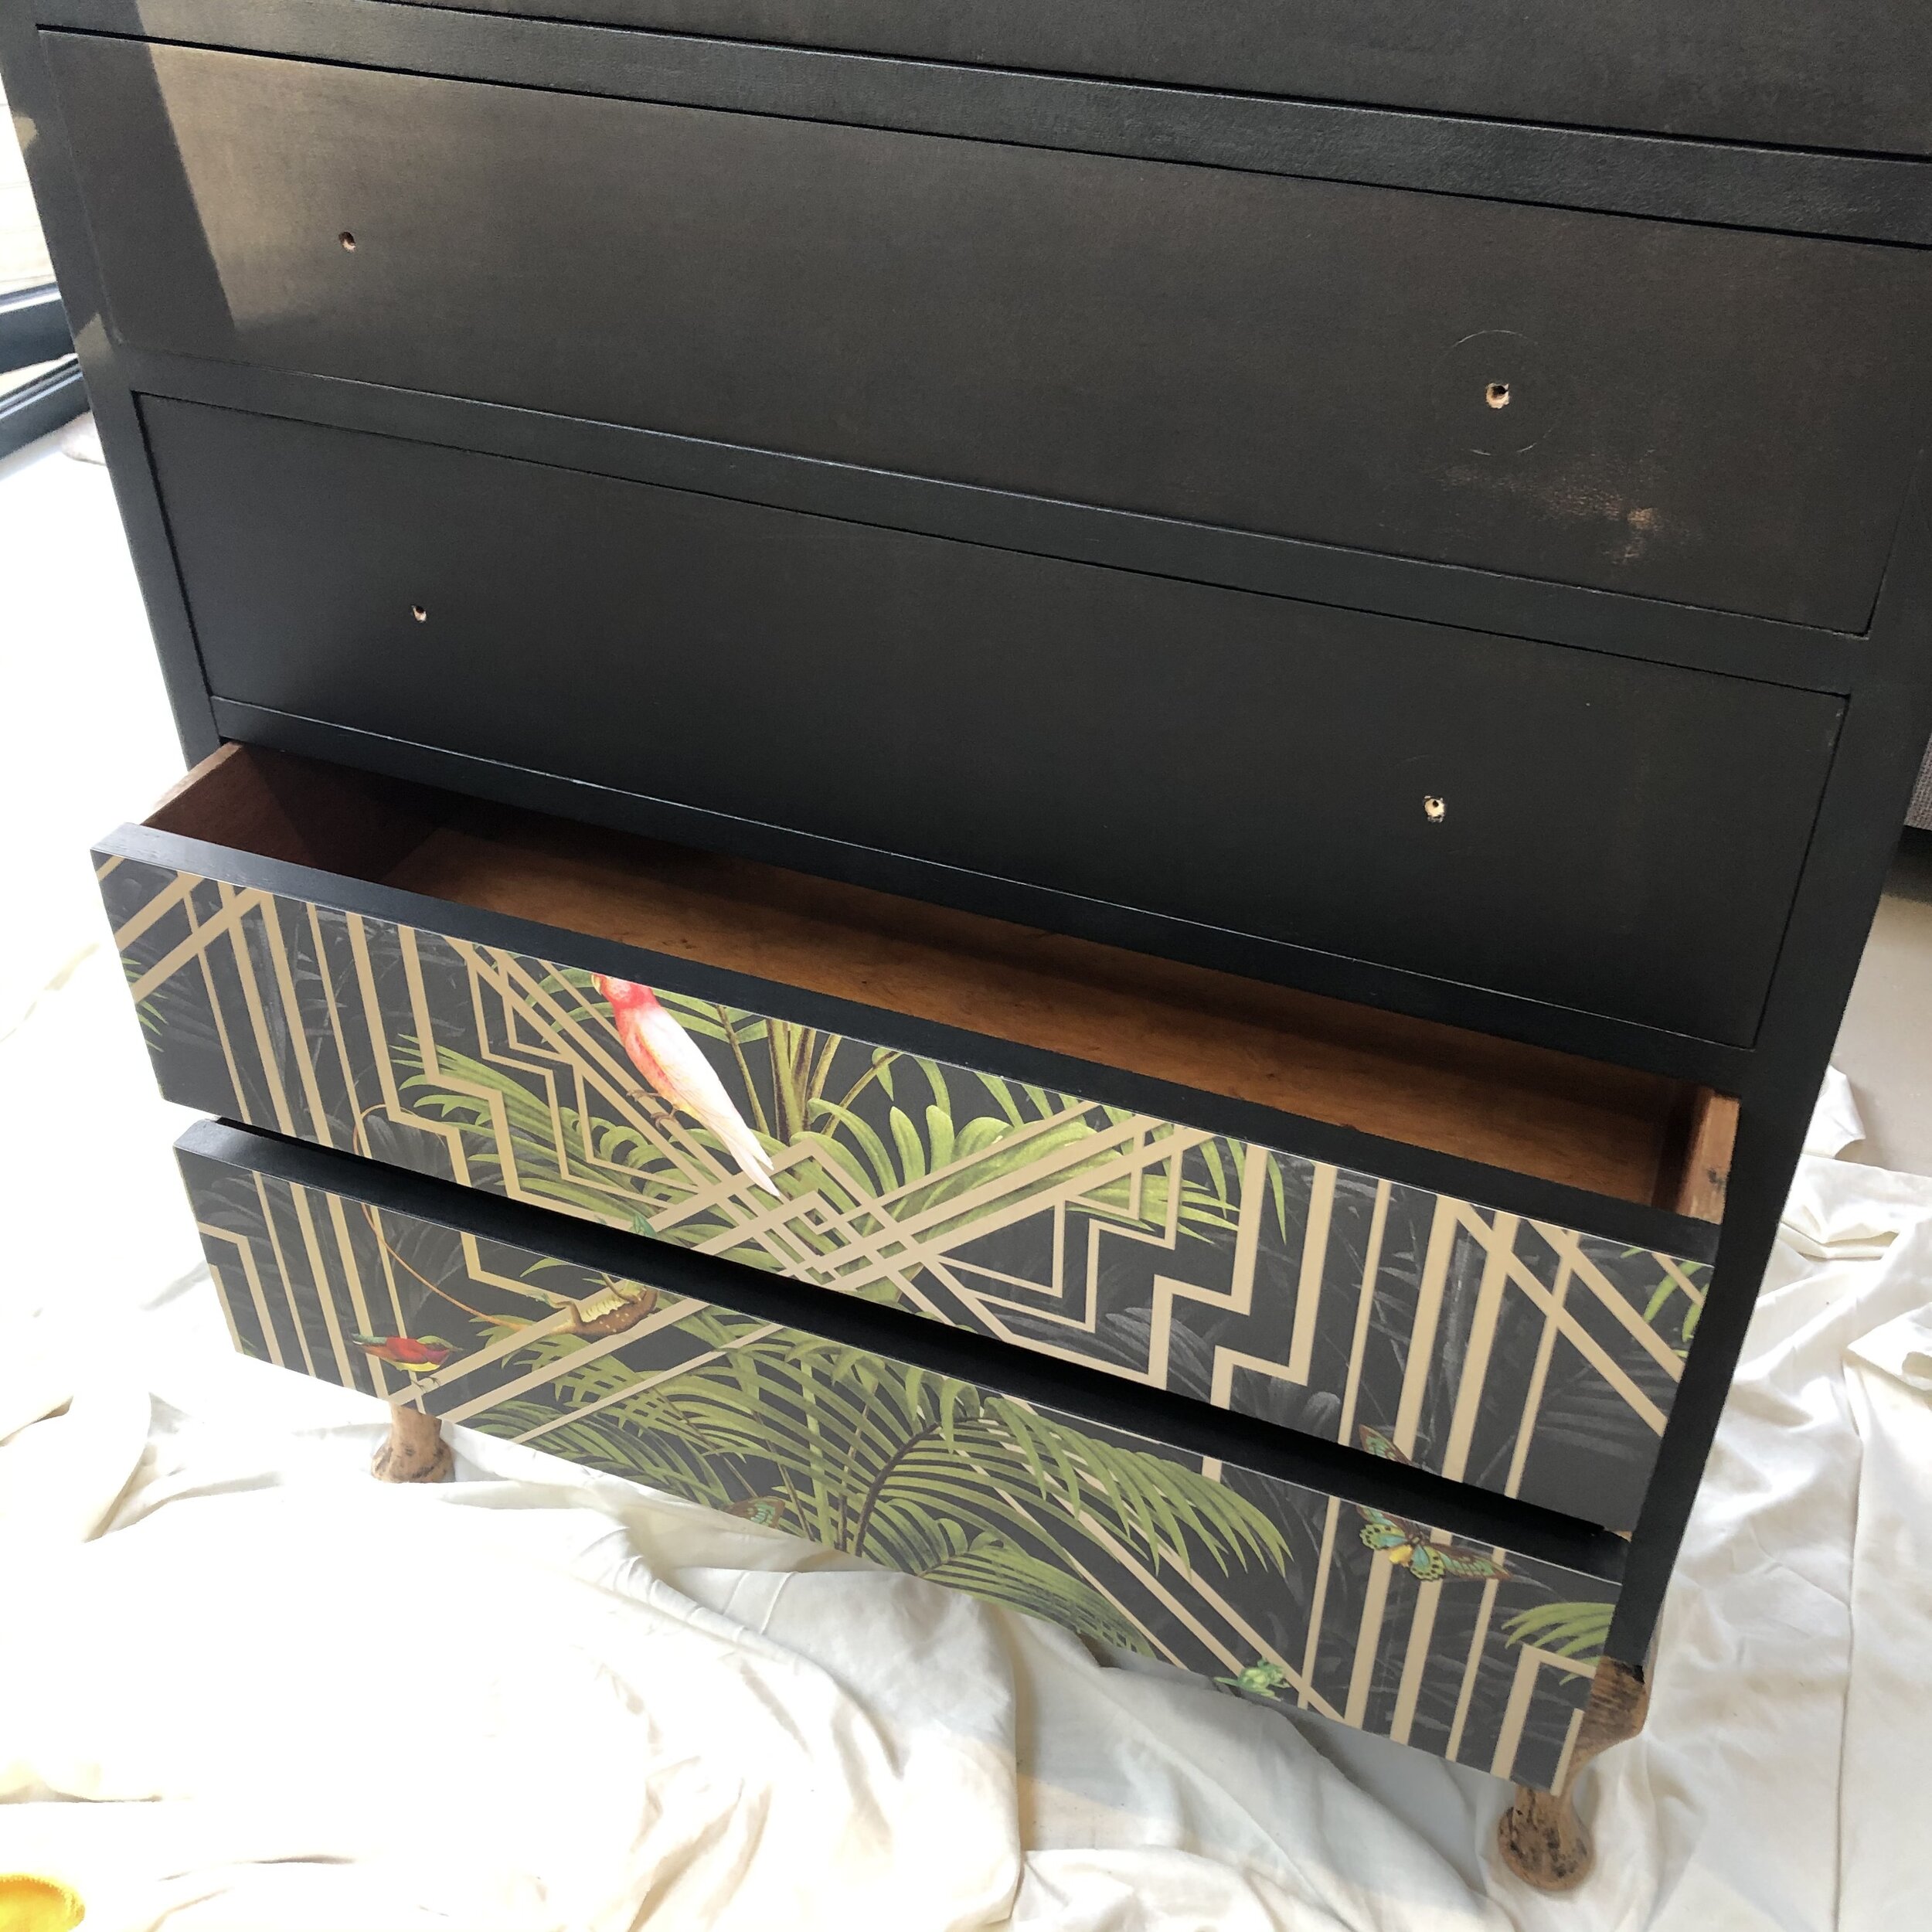
Here is my latest piece. An old 1920s chest of drawers that was in need of some TLC.
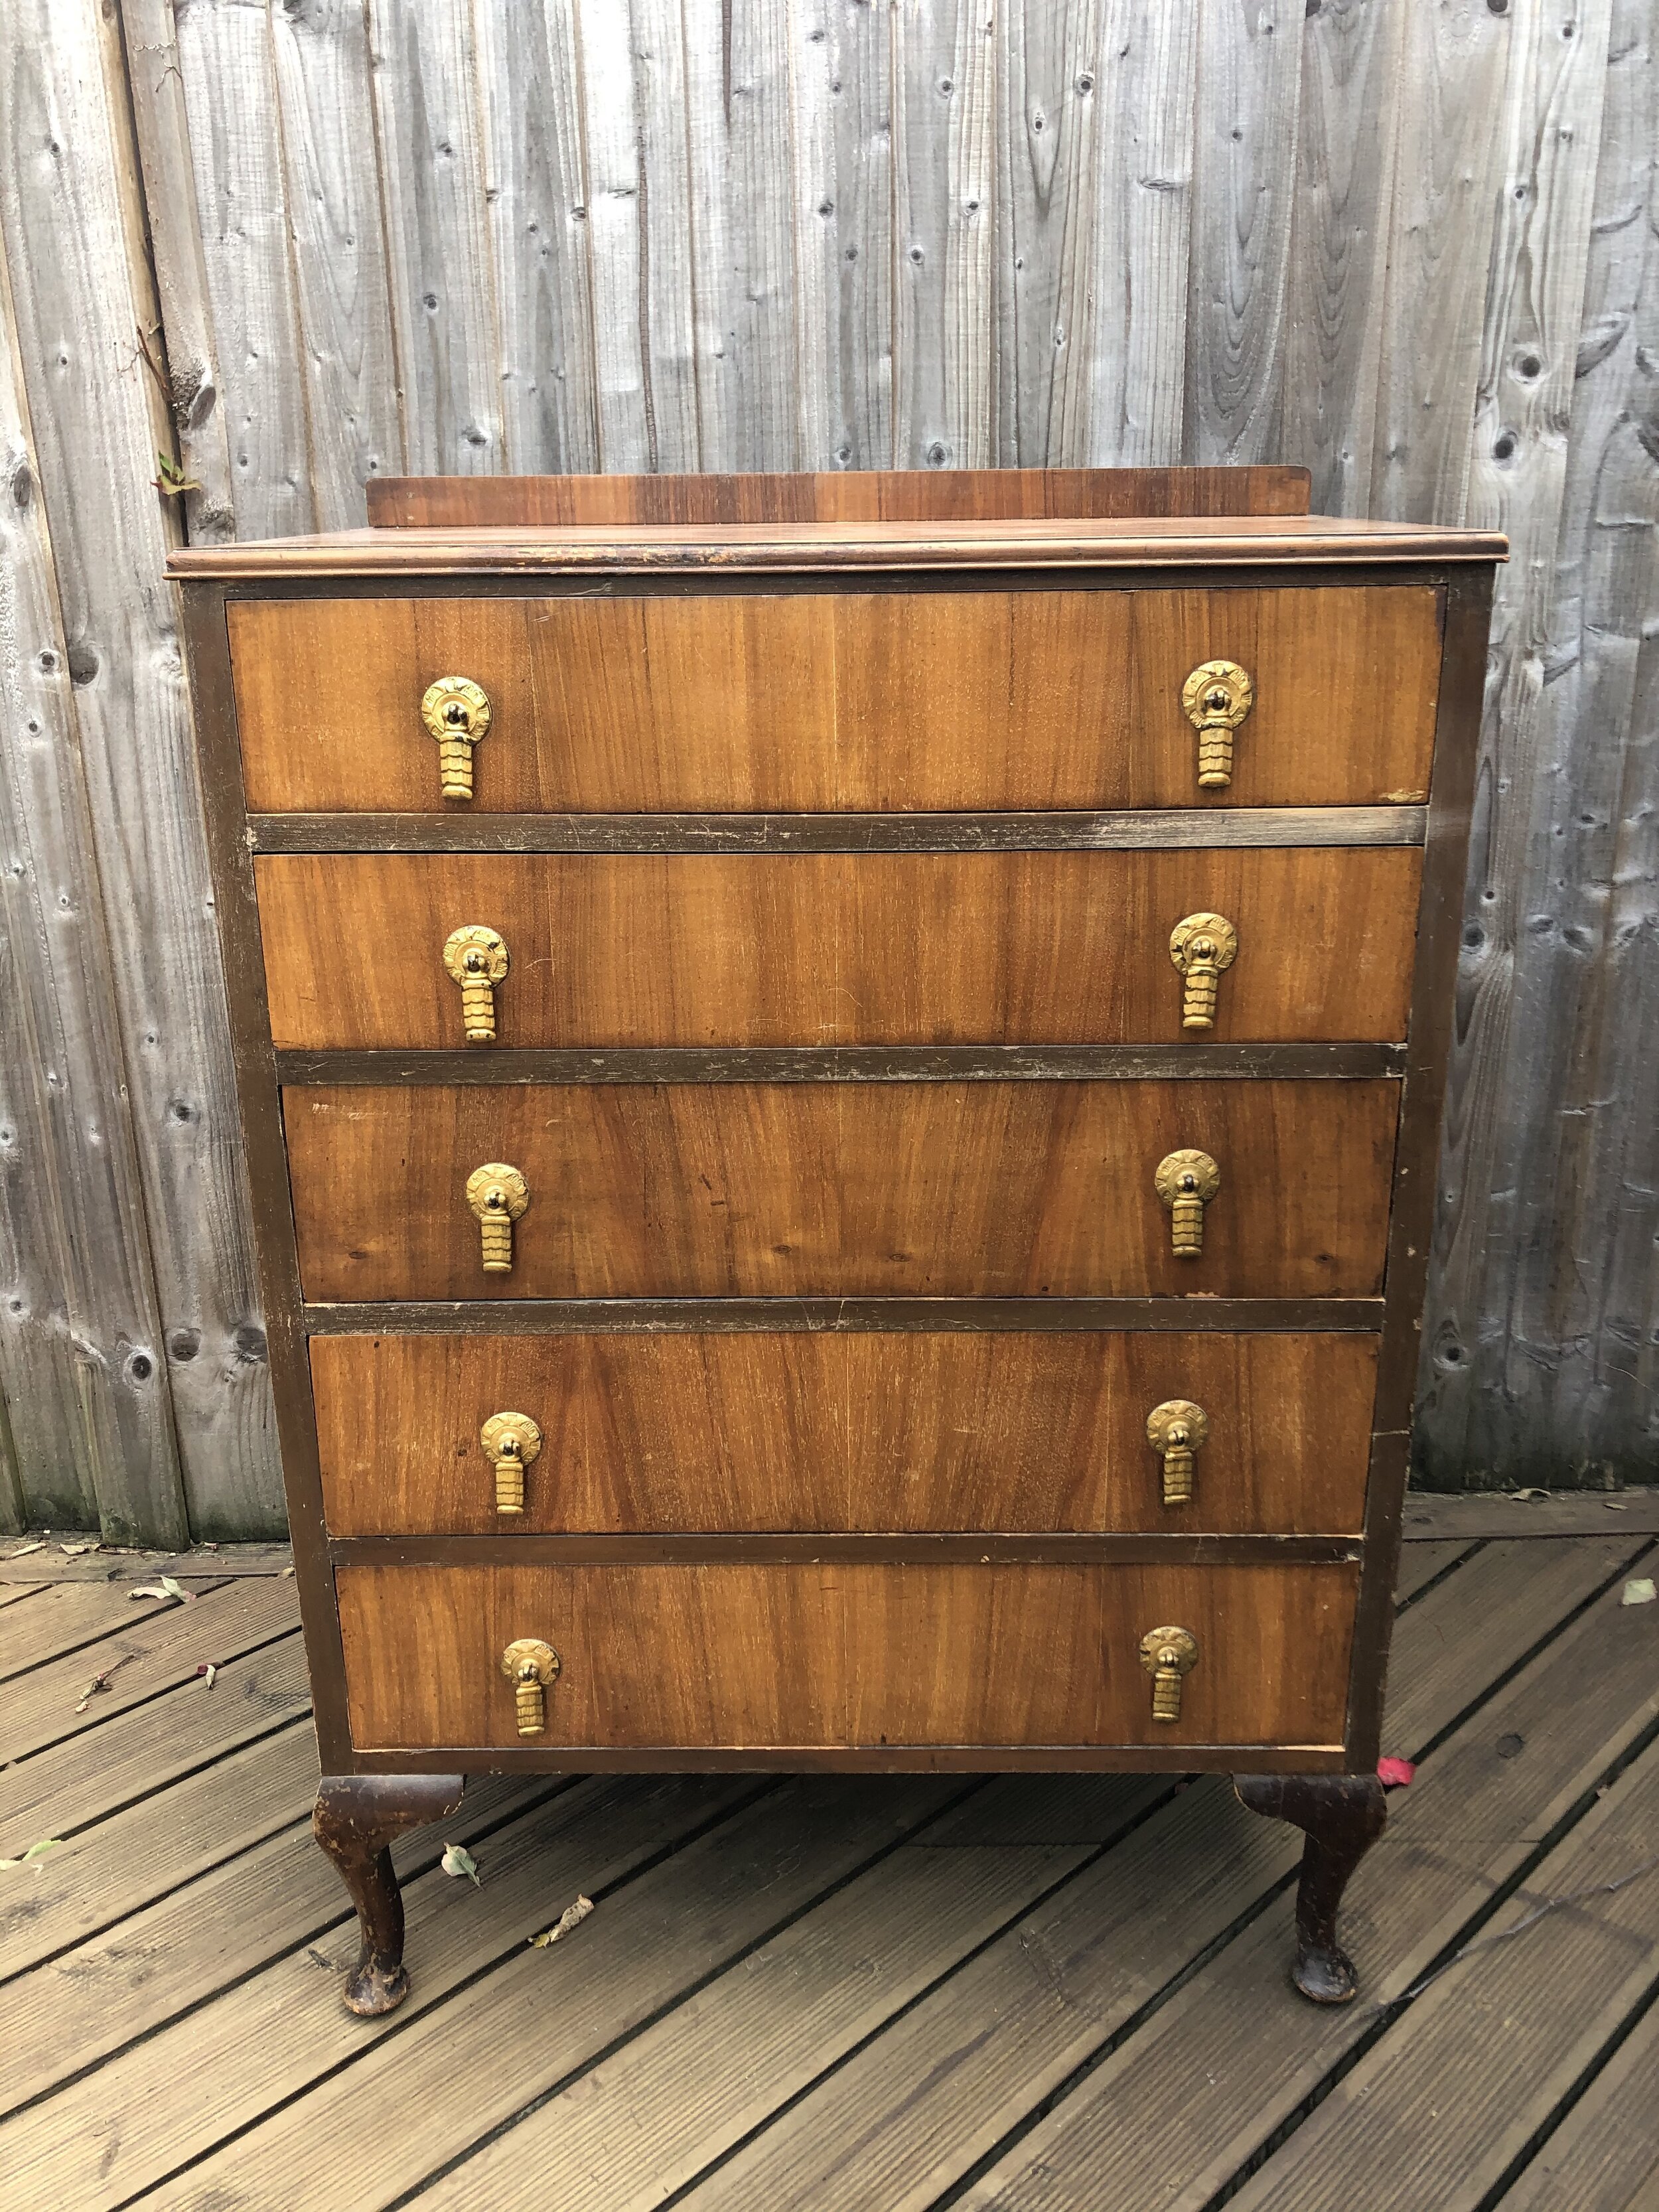
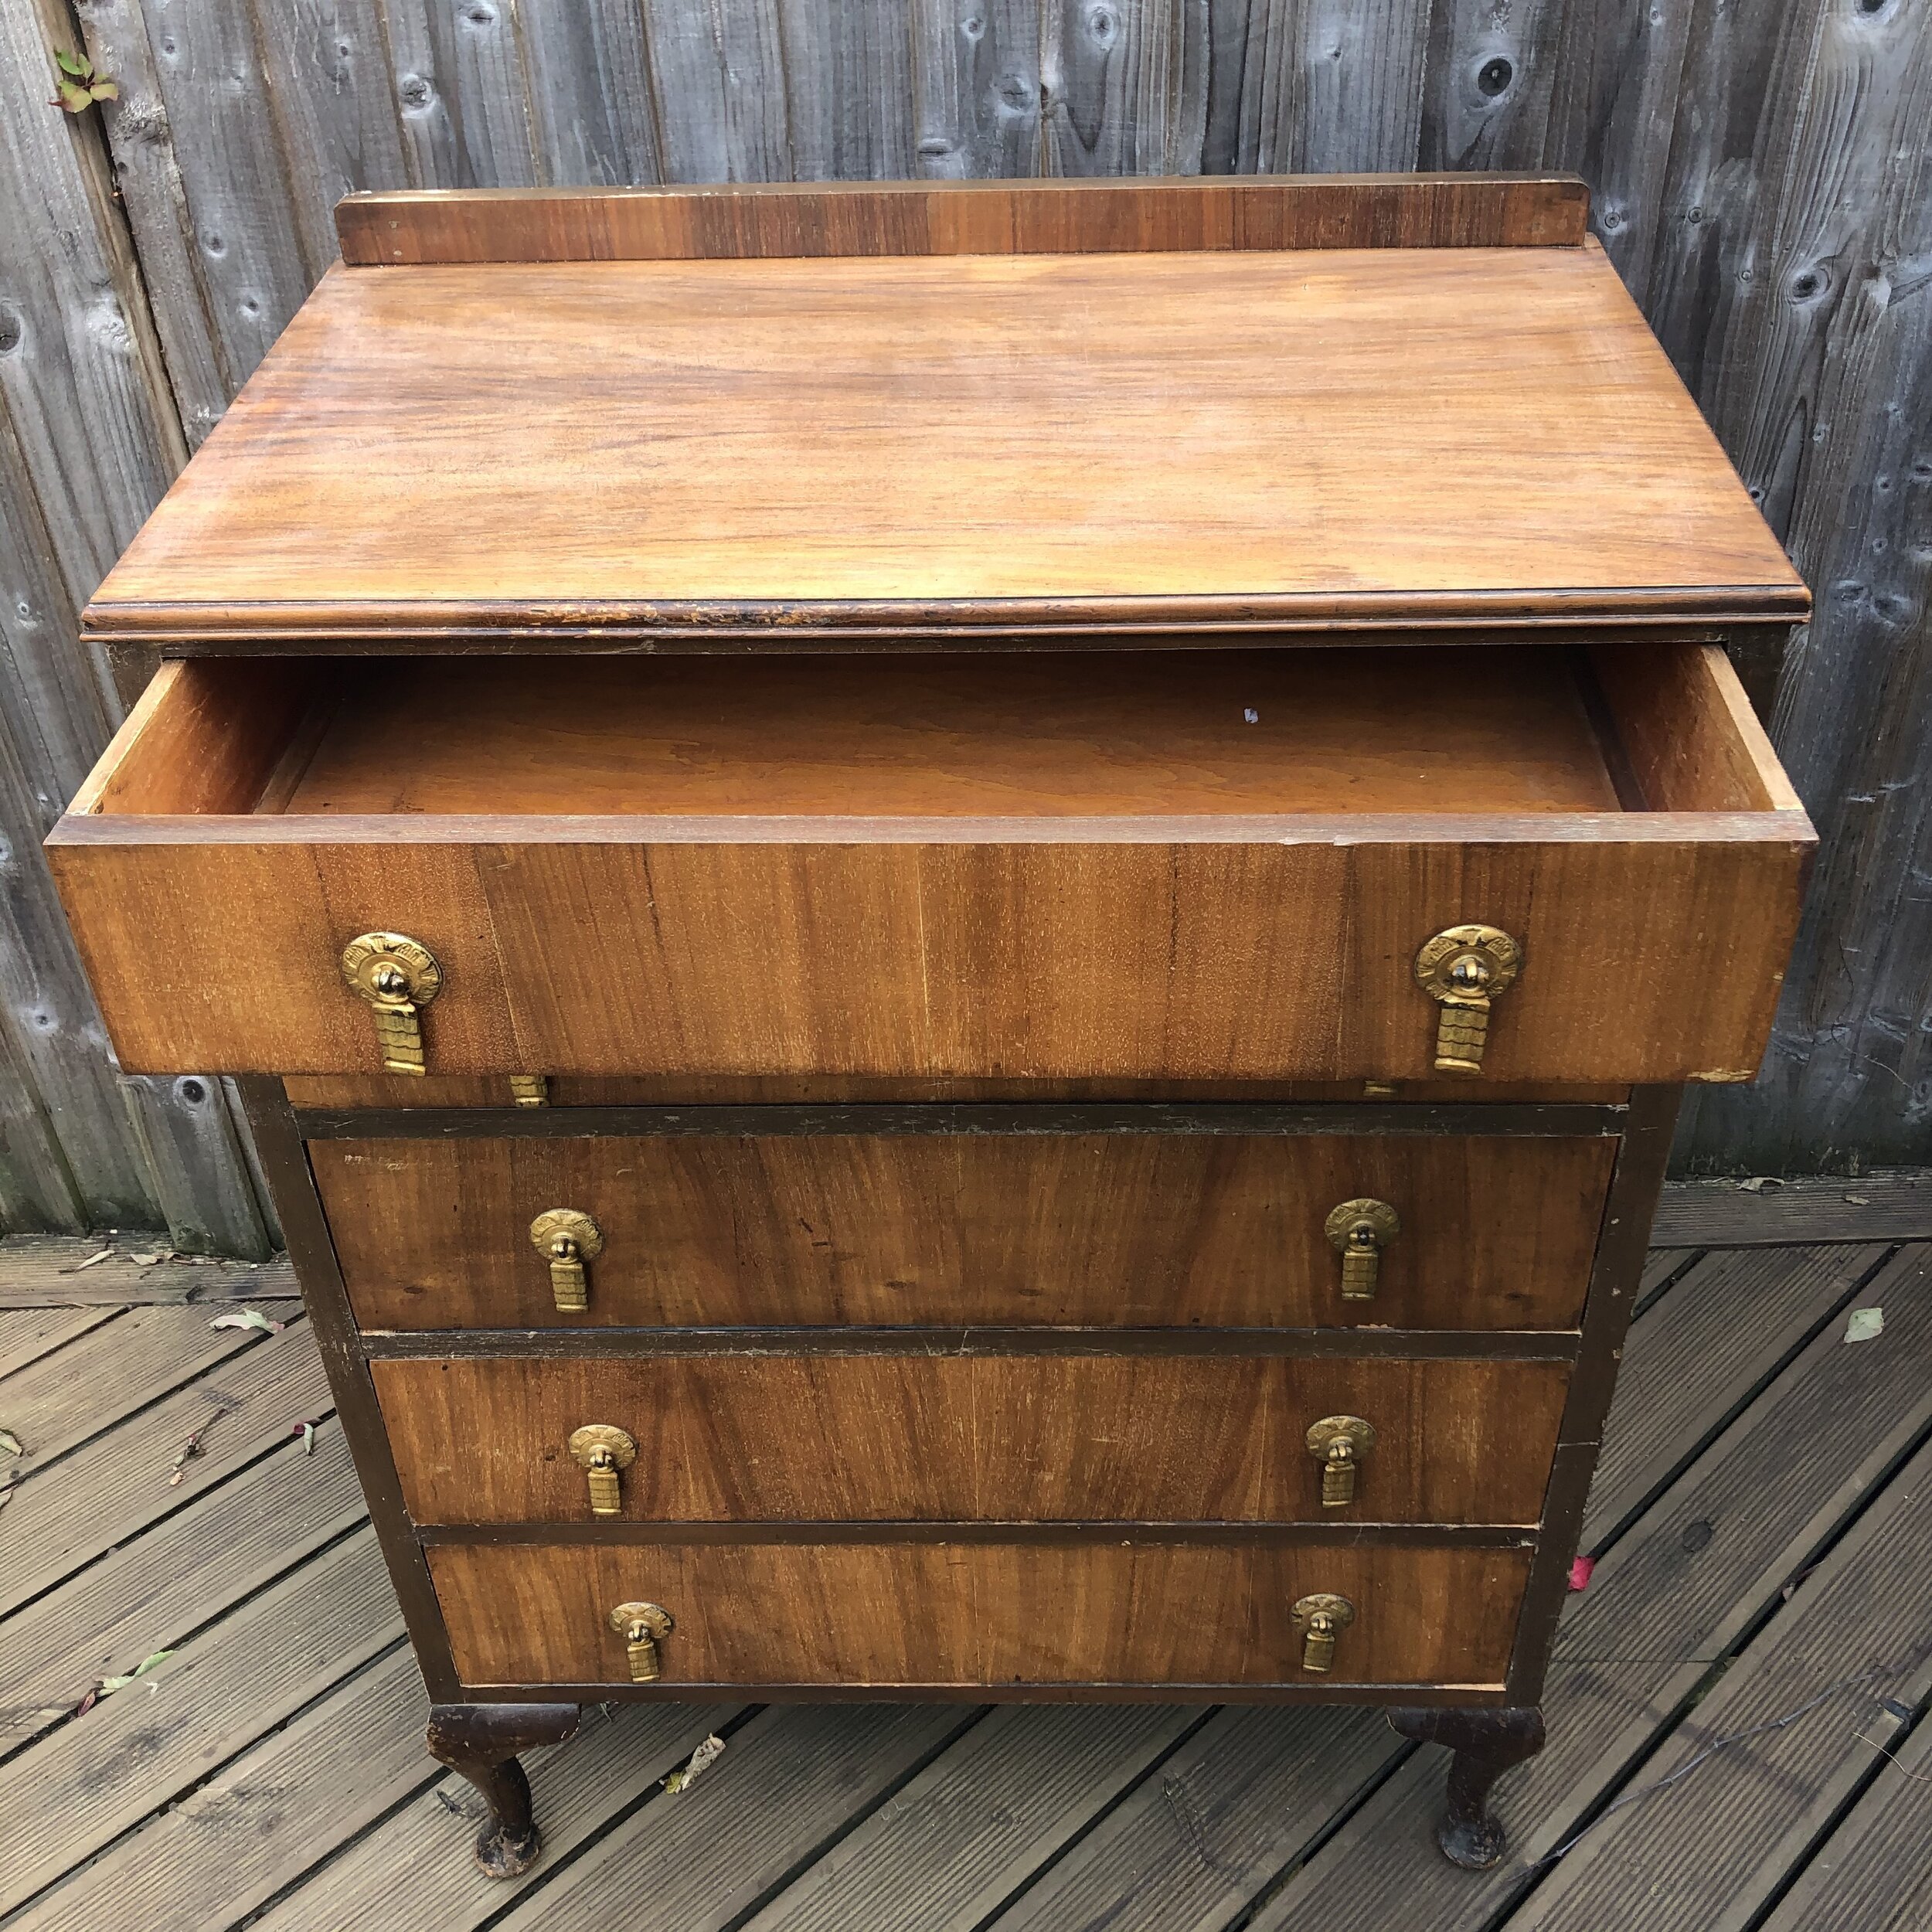
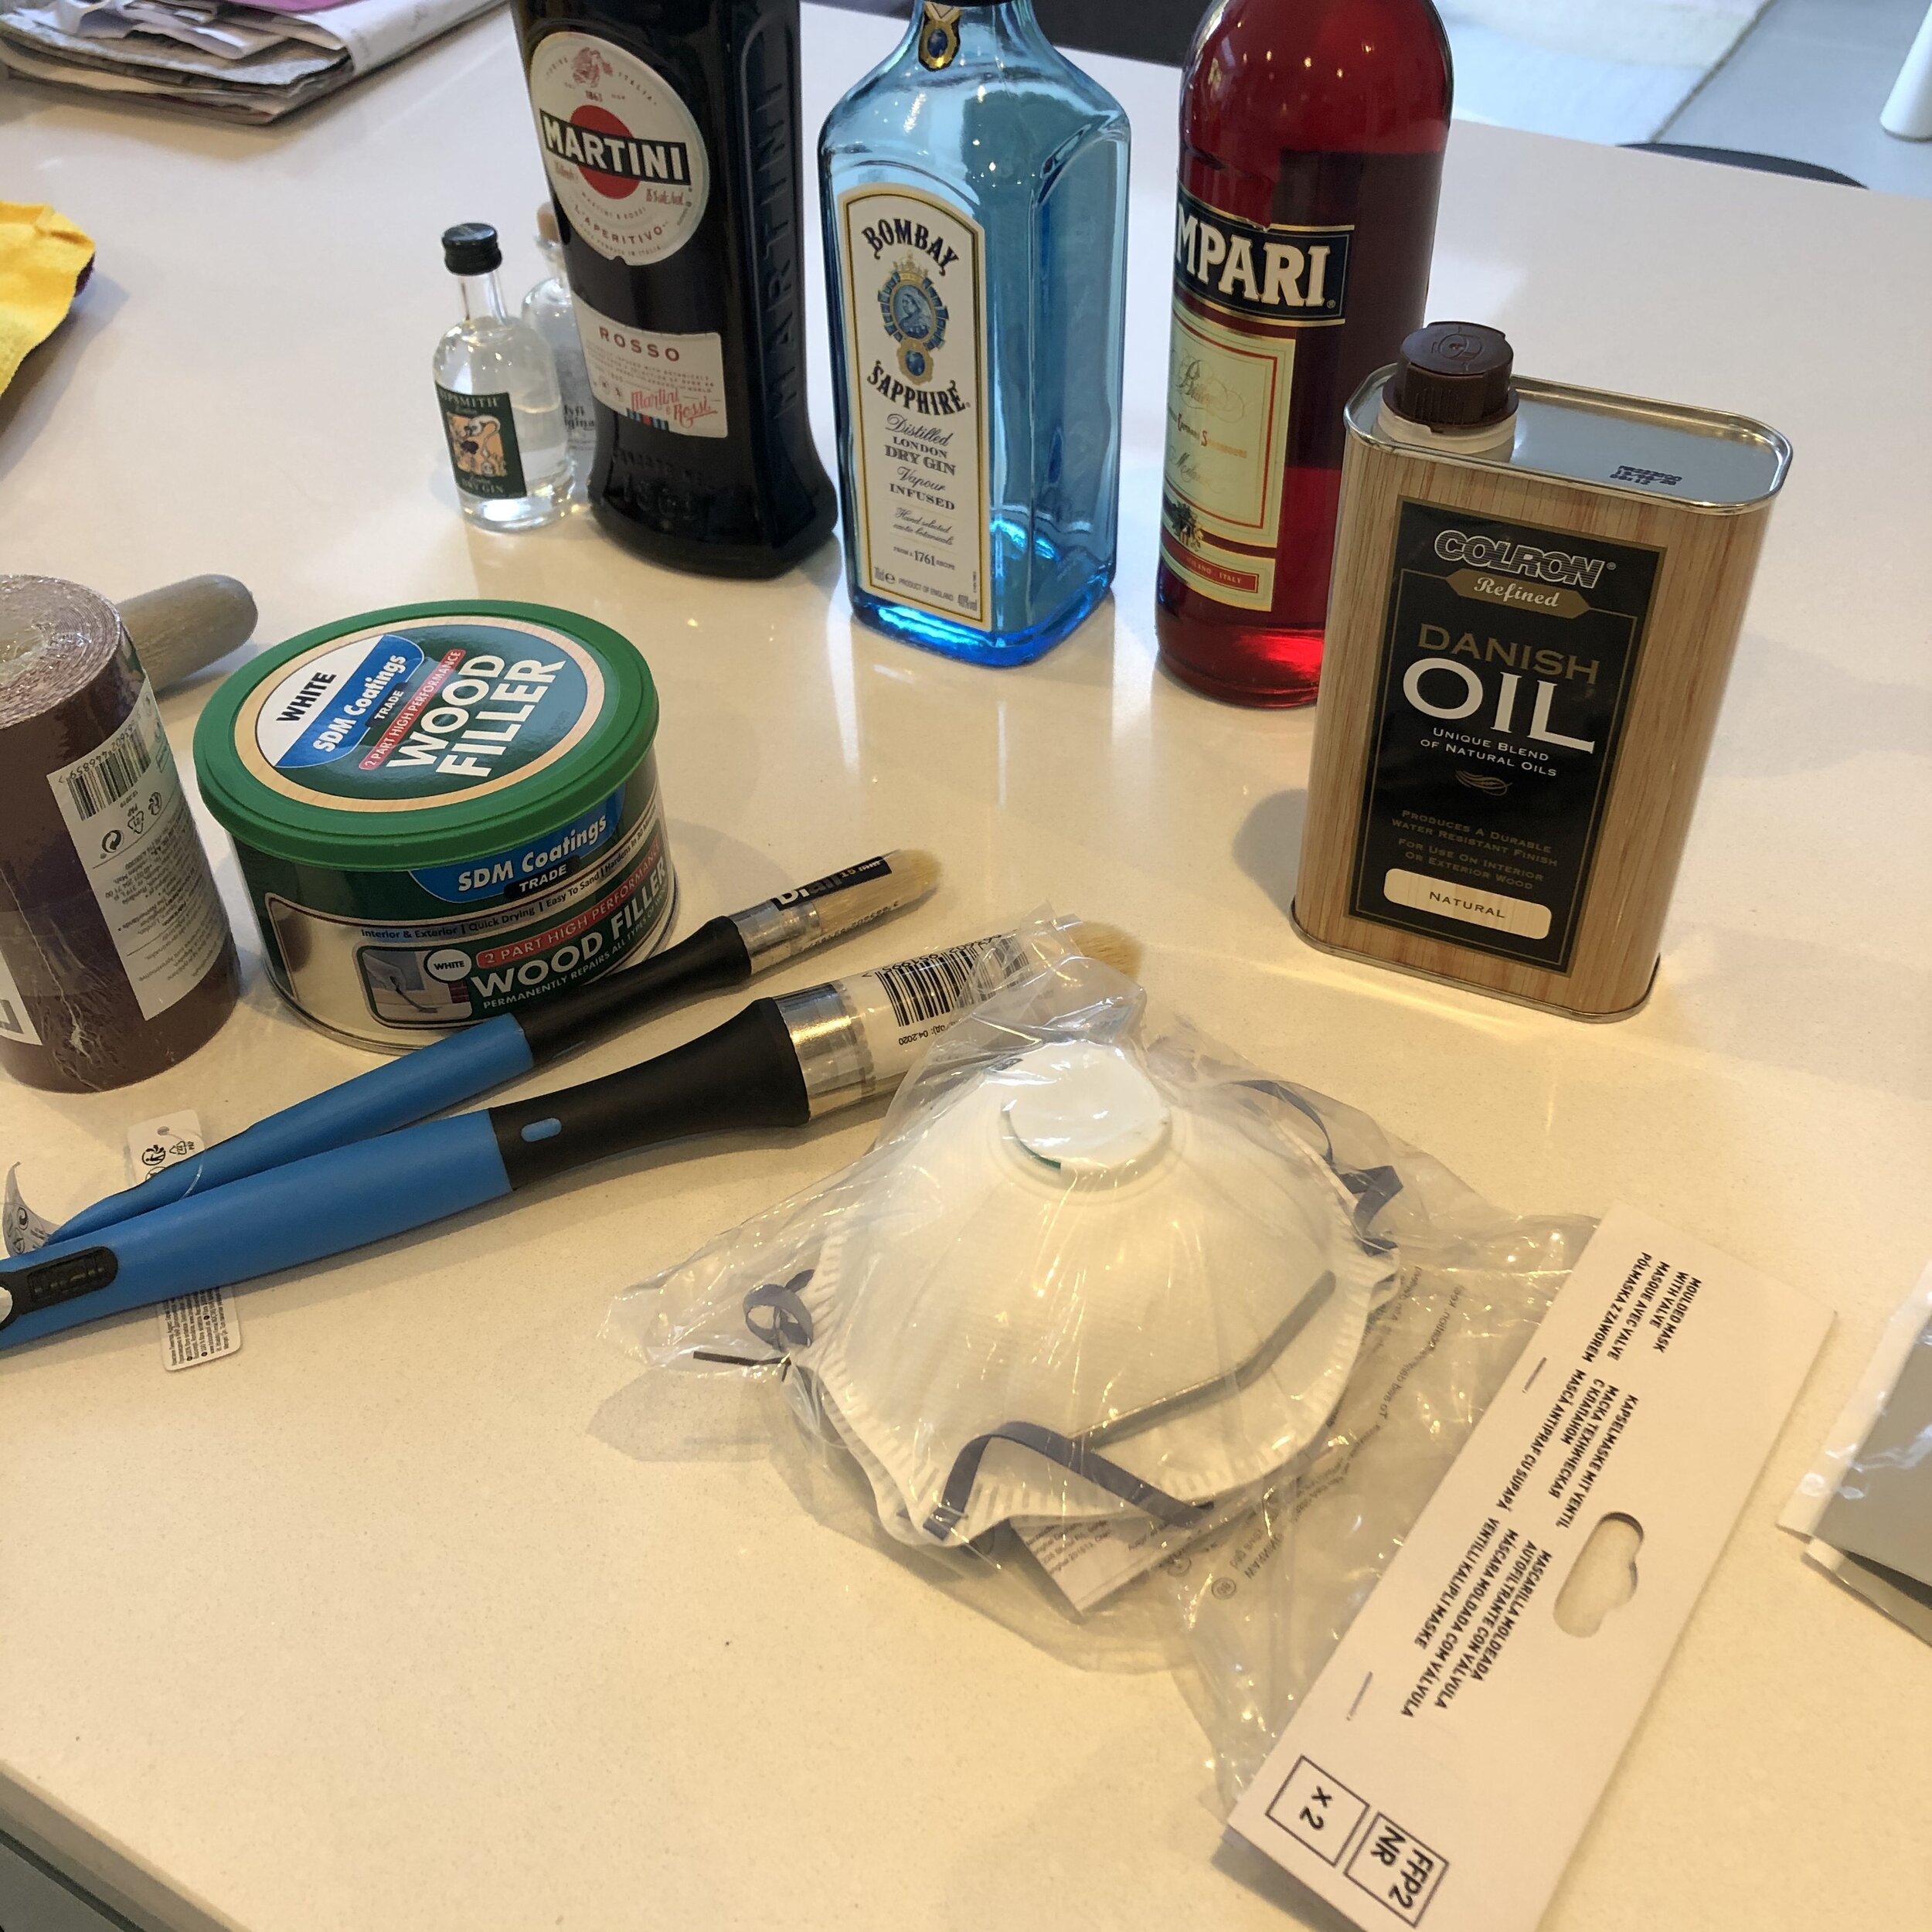
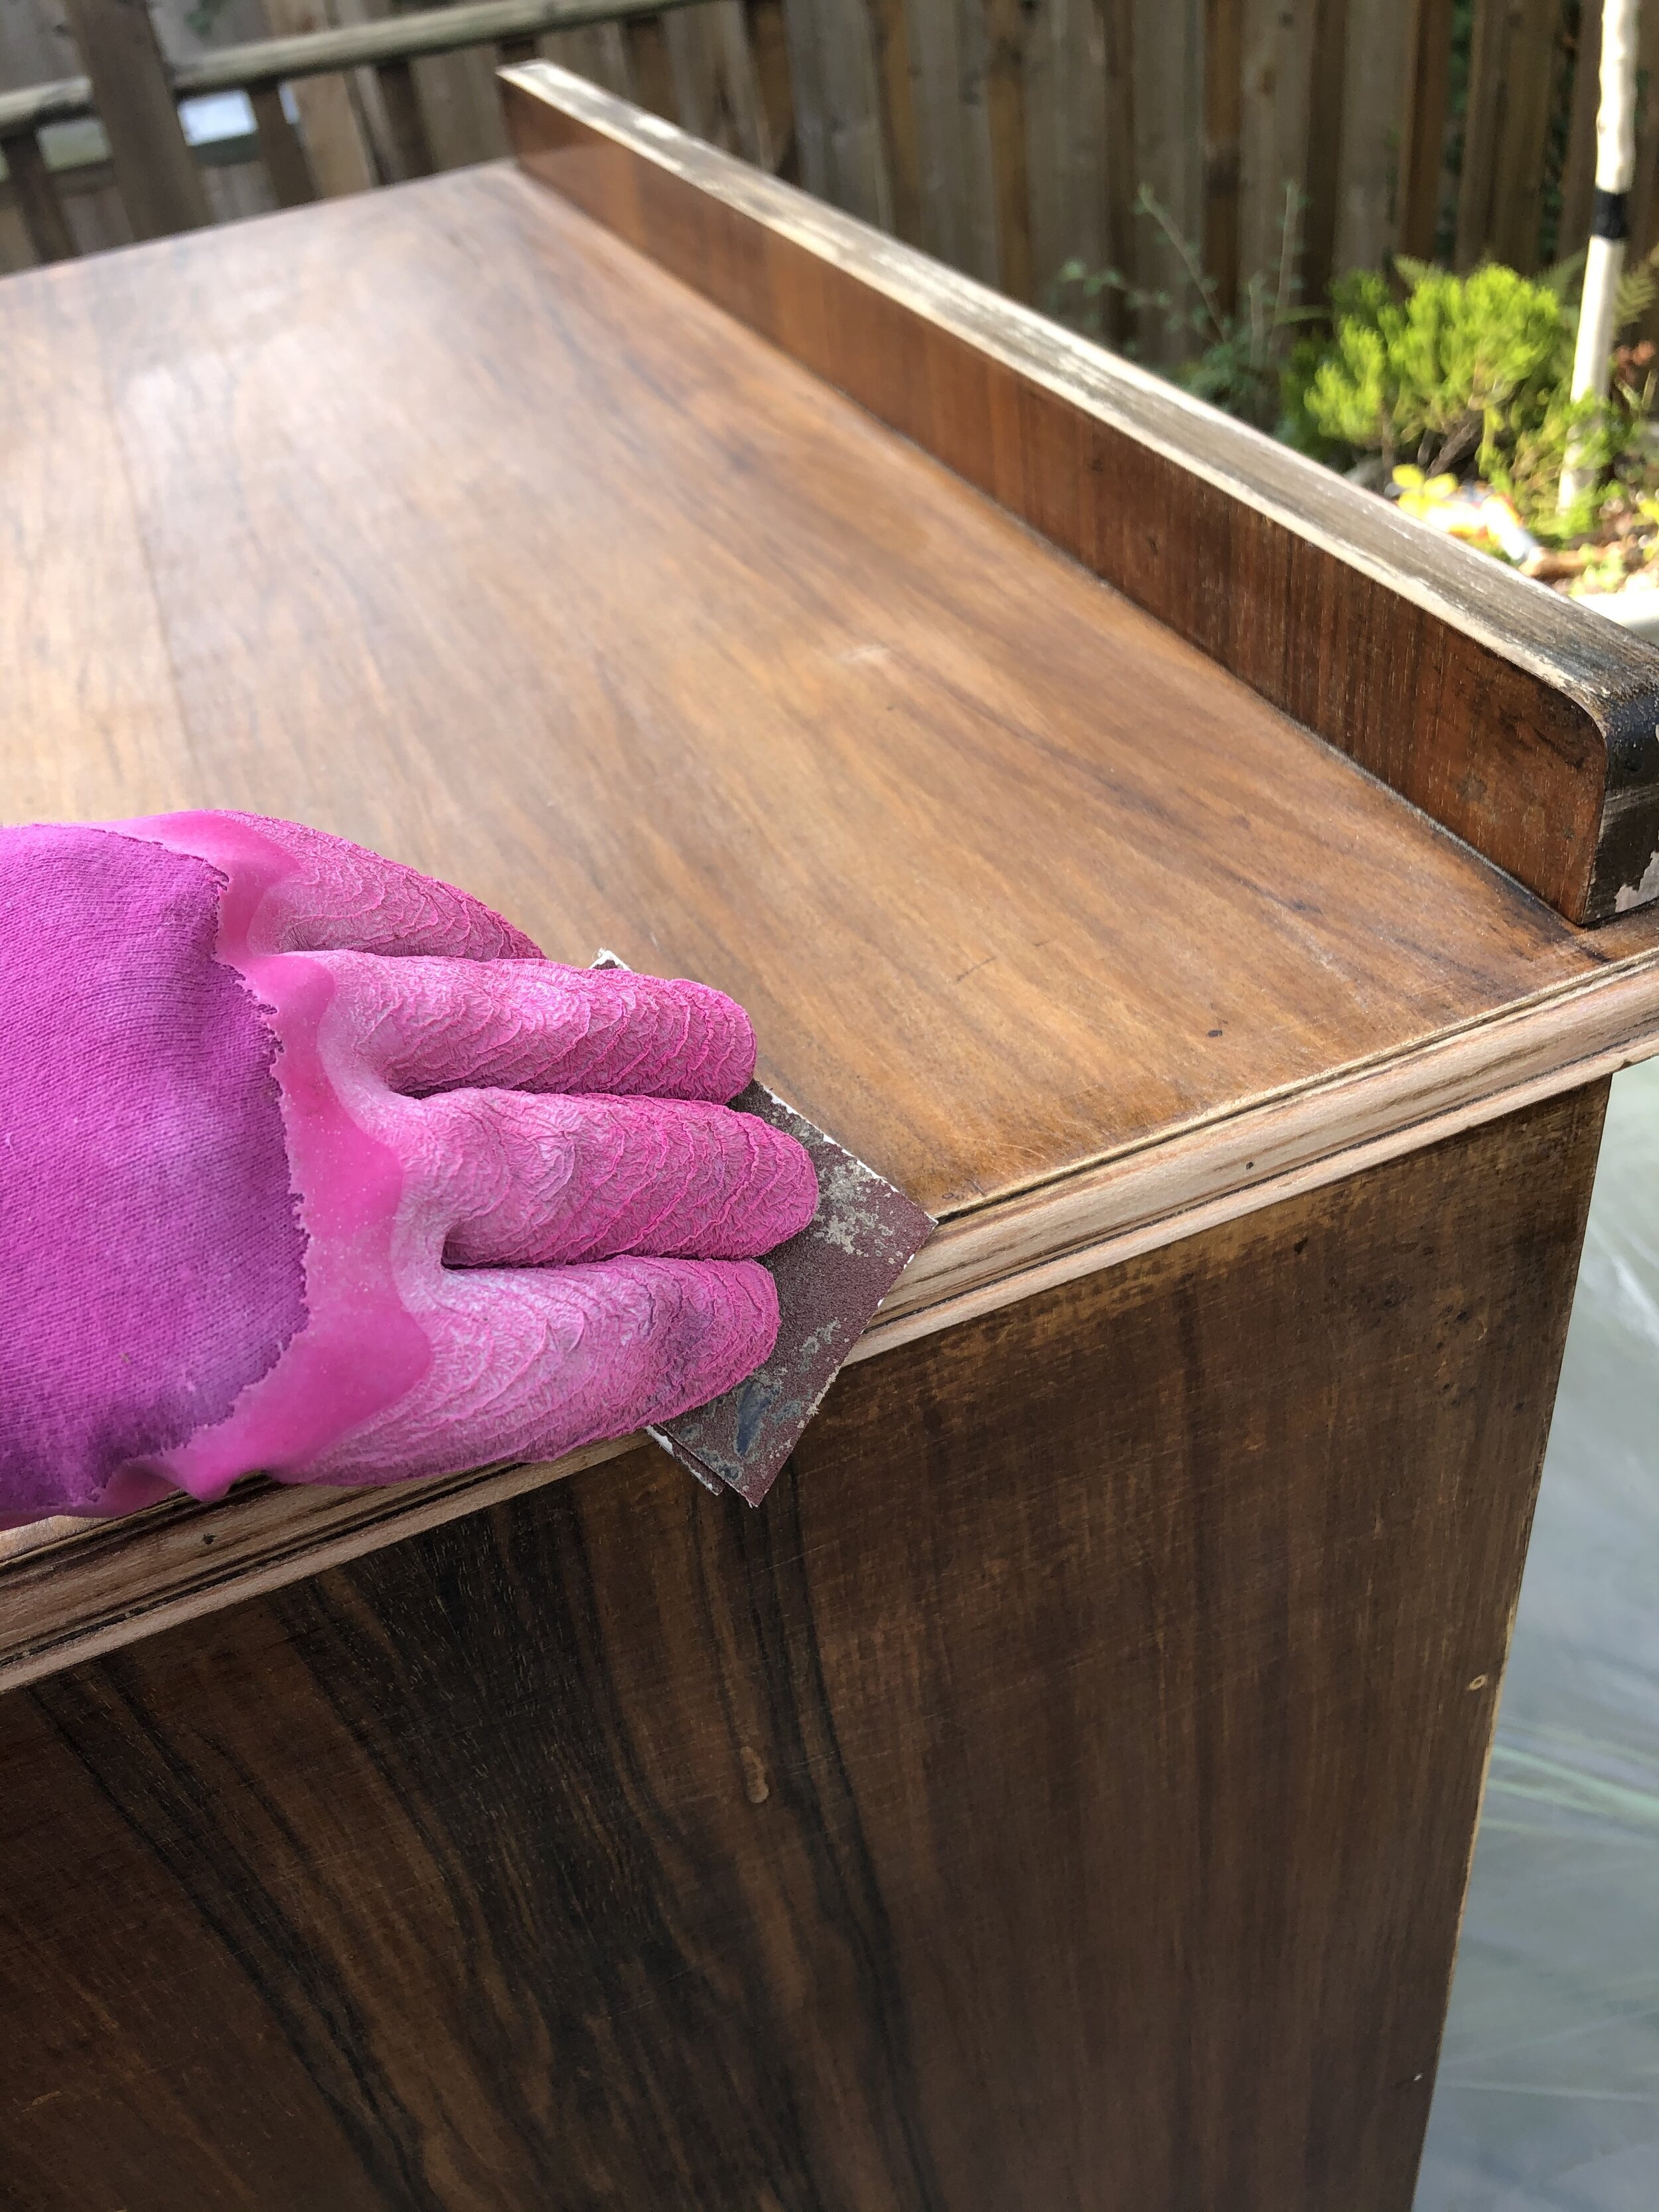
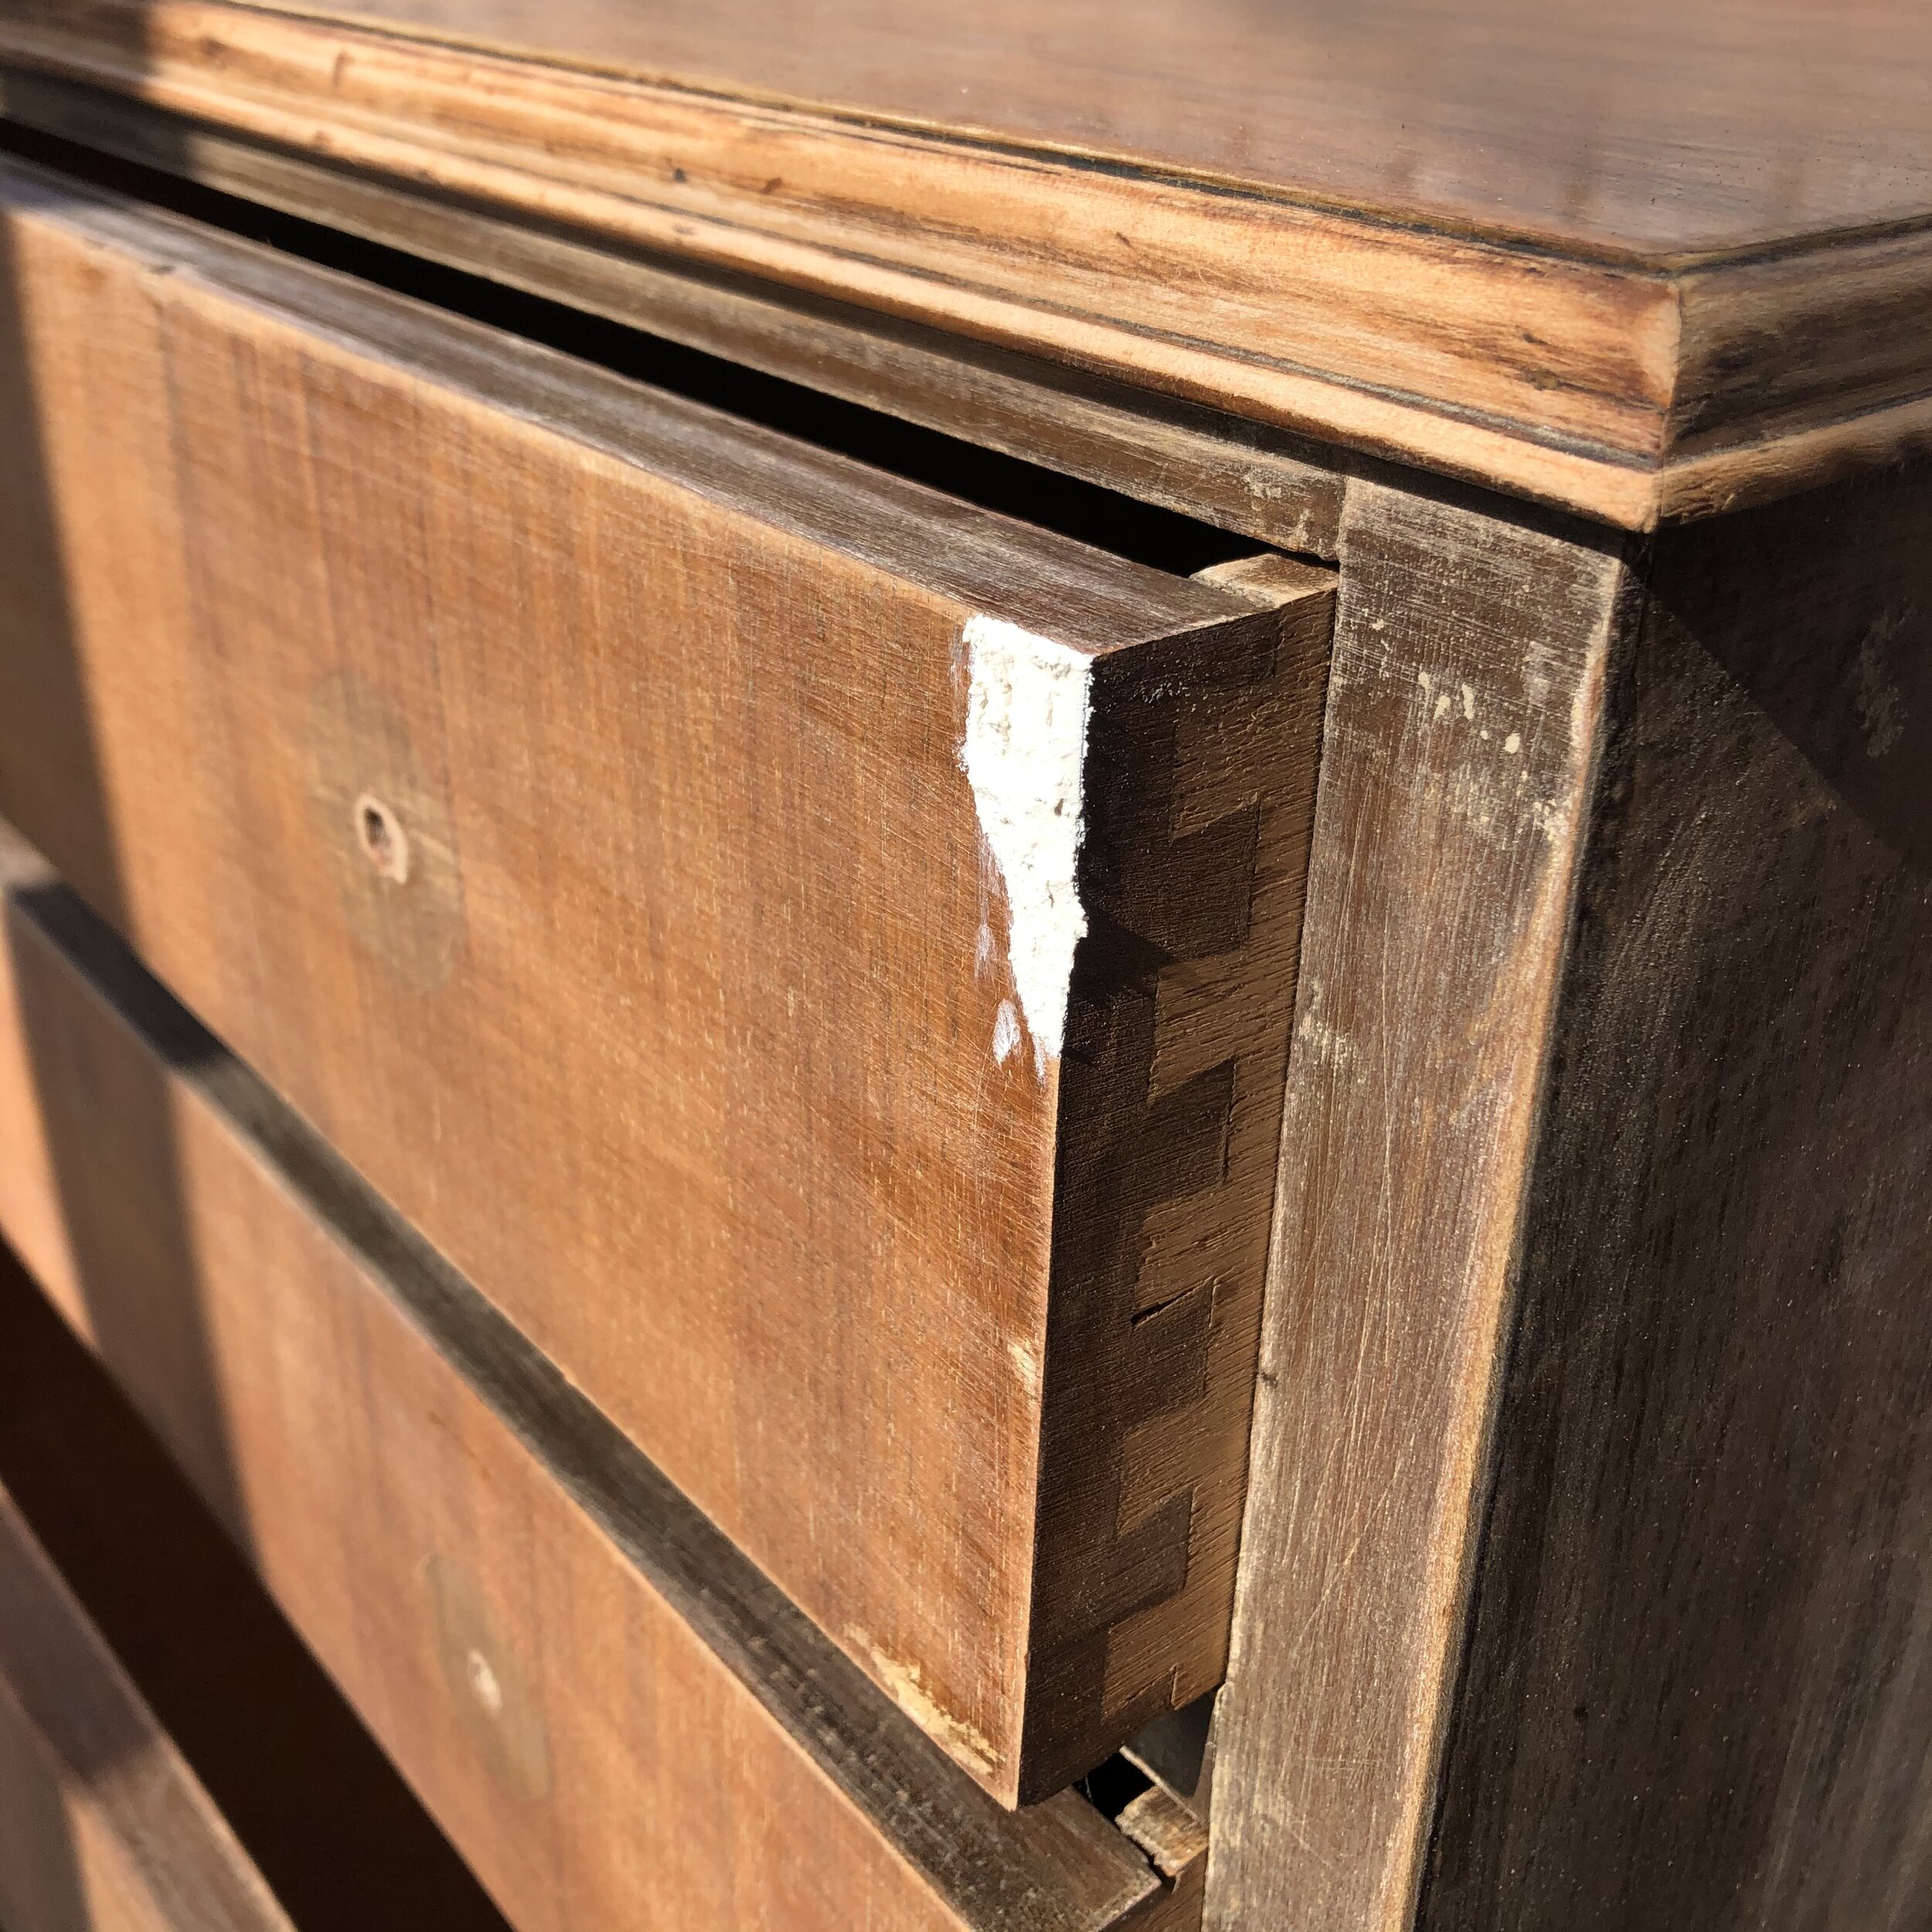
Step 1: Sanding, filling, repairing. It’s messy work, but great to see the ‘bare bones’ of the piece.
I hand-sanded this piece and used a strong wood filler for any holes. The chest of drawers had a lot of veneer on it, which I left in place and sanded down as I knew I was going to be painting over most of it.
(N.B Gin in the background of the photo below was consumed after, not during haha.)
(N.B It is advisable to wear safety goggles, not sunglasses when sanding!)
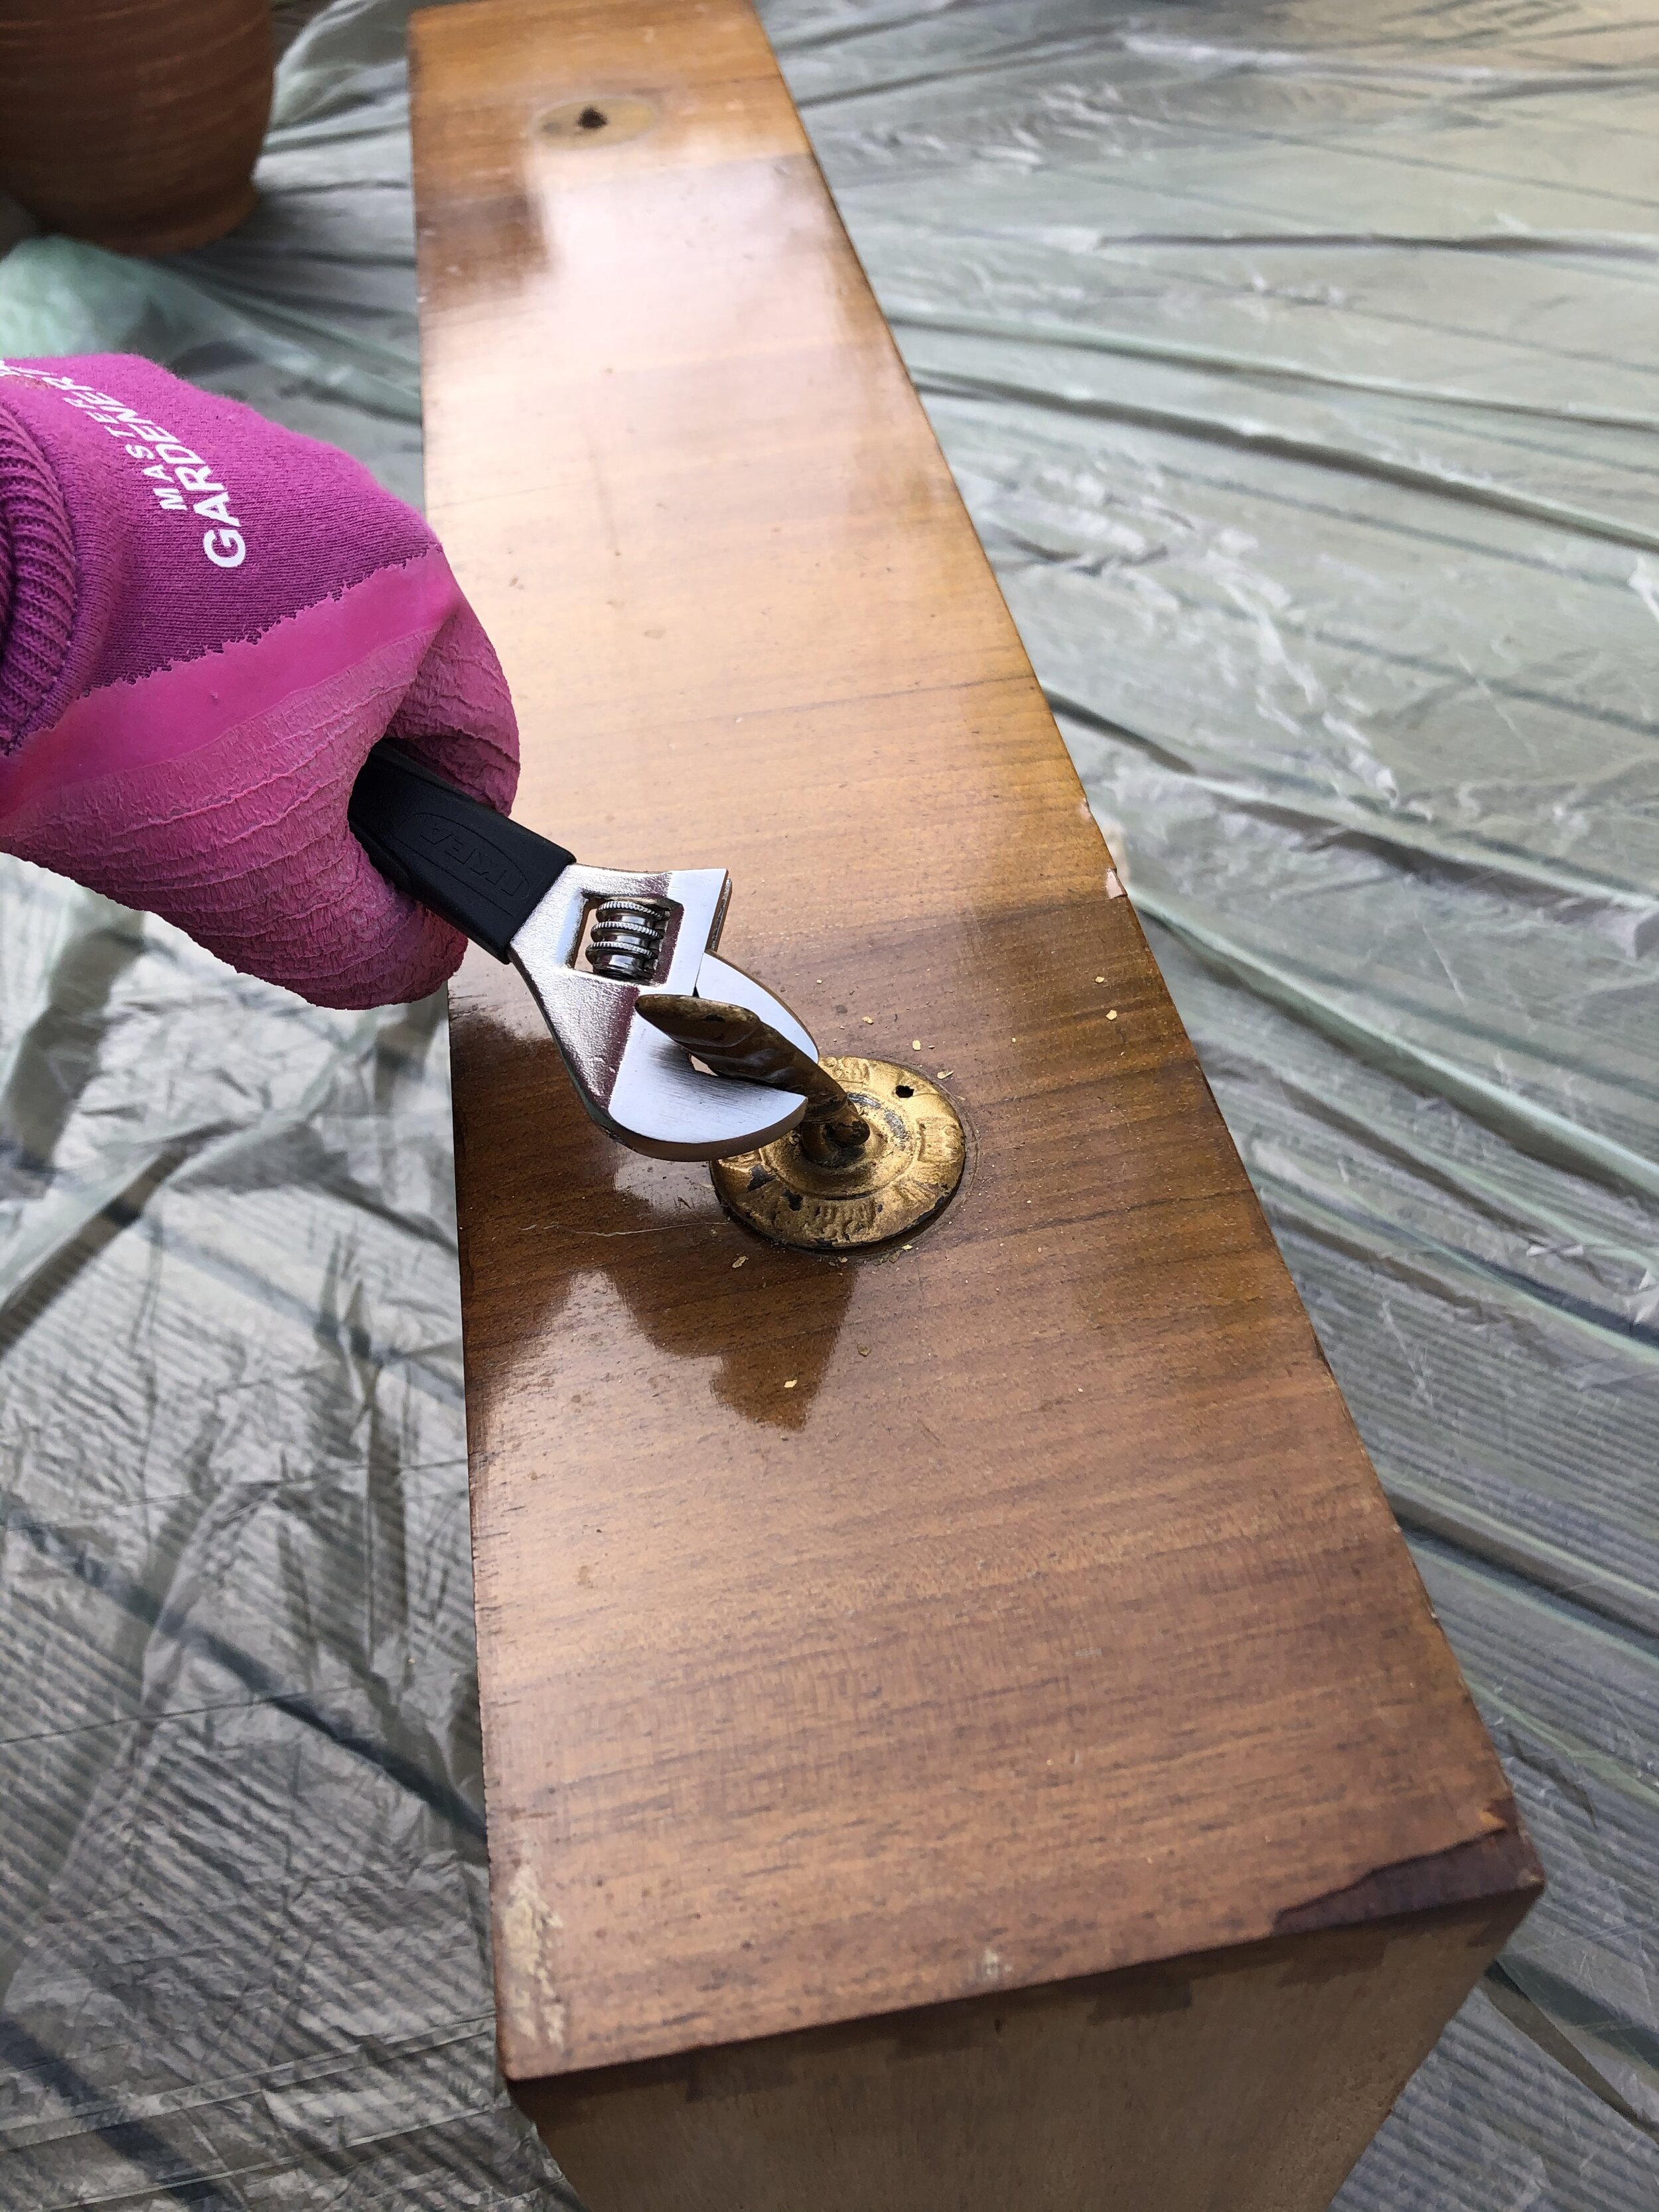
Step 2: Removing hardware (handles etc) and cleaning them up. These looked like the original handles so I really wanted to keep them. They were in great condition too. I cleaned them up in a vinegar and tomato ketchup (I know!) solution.
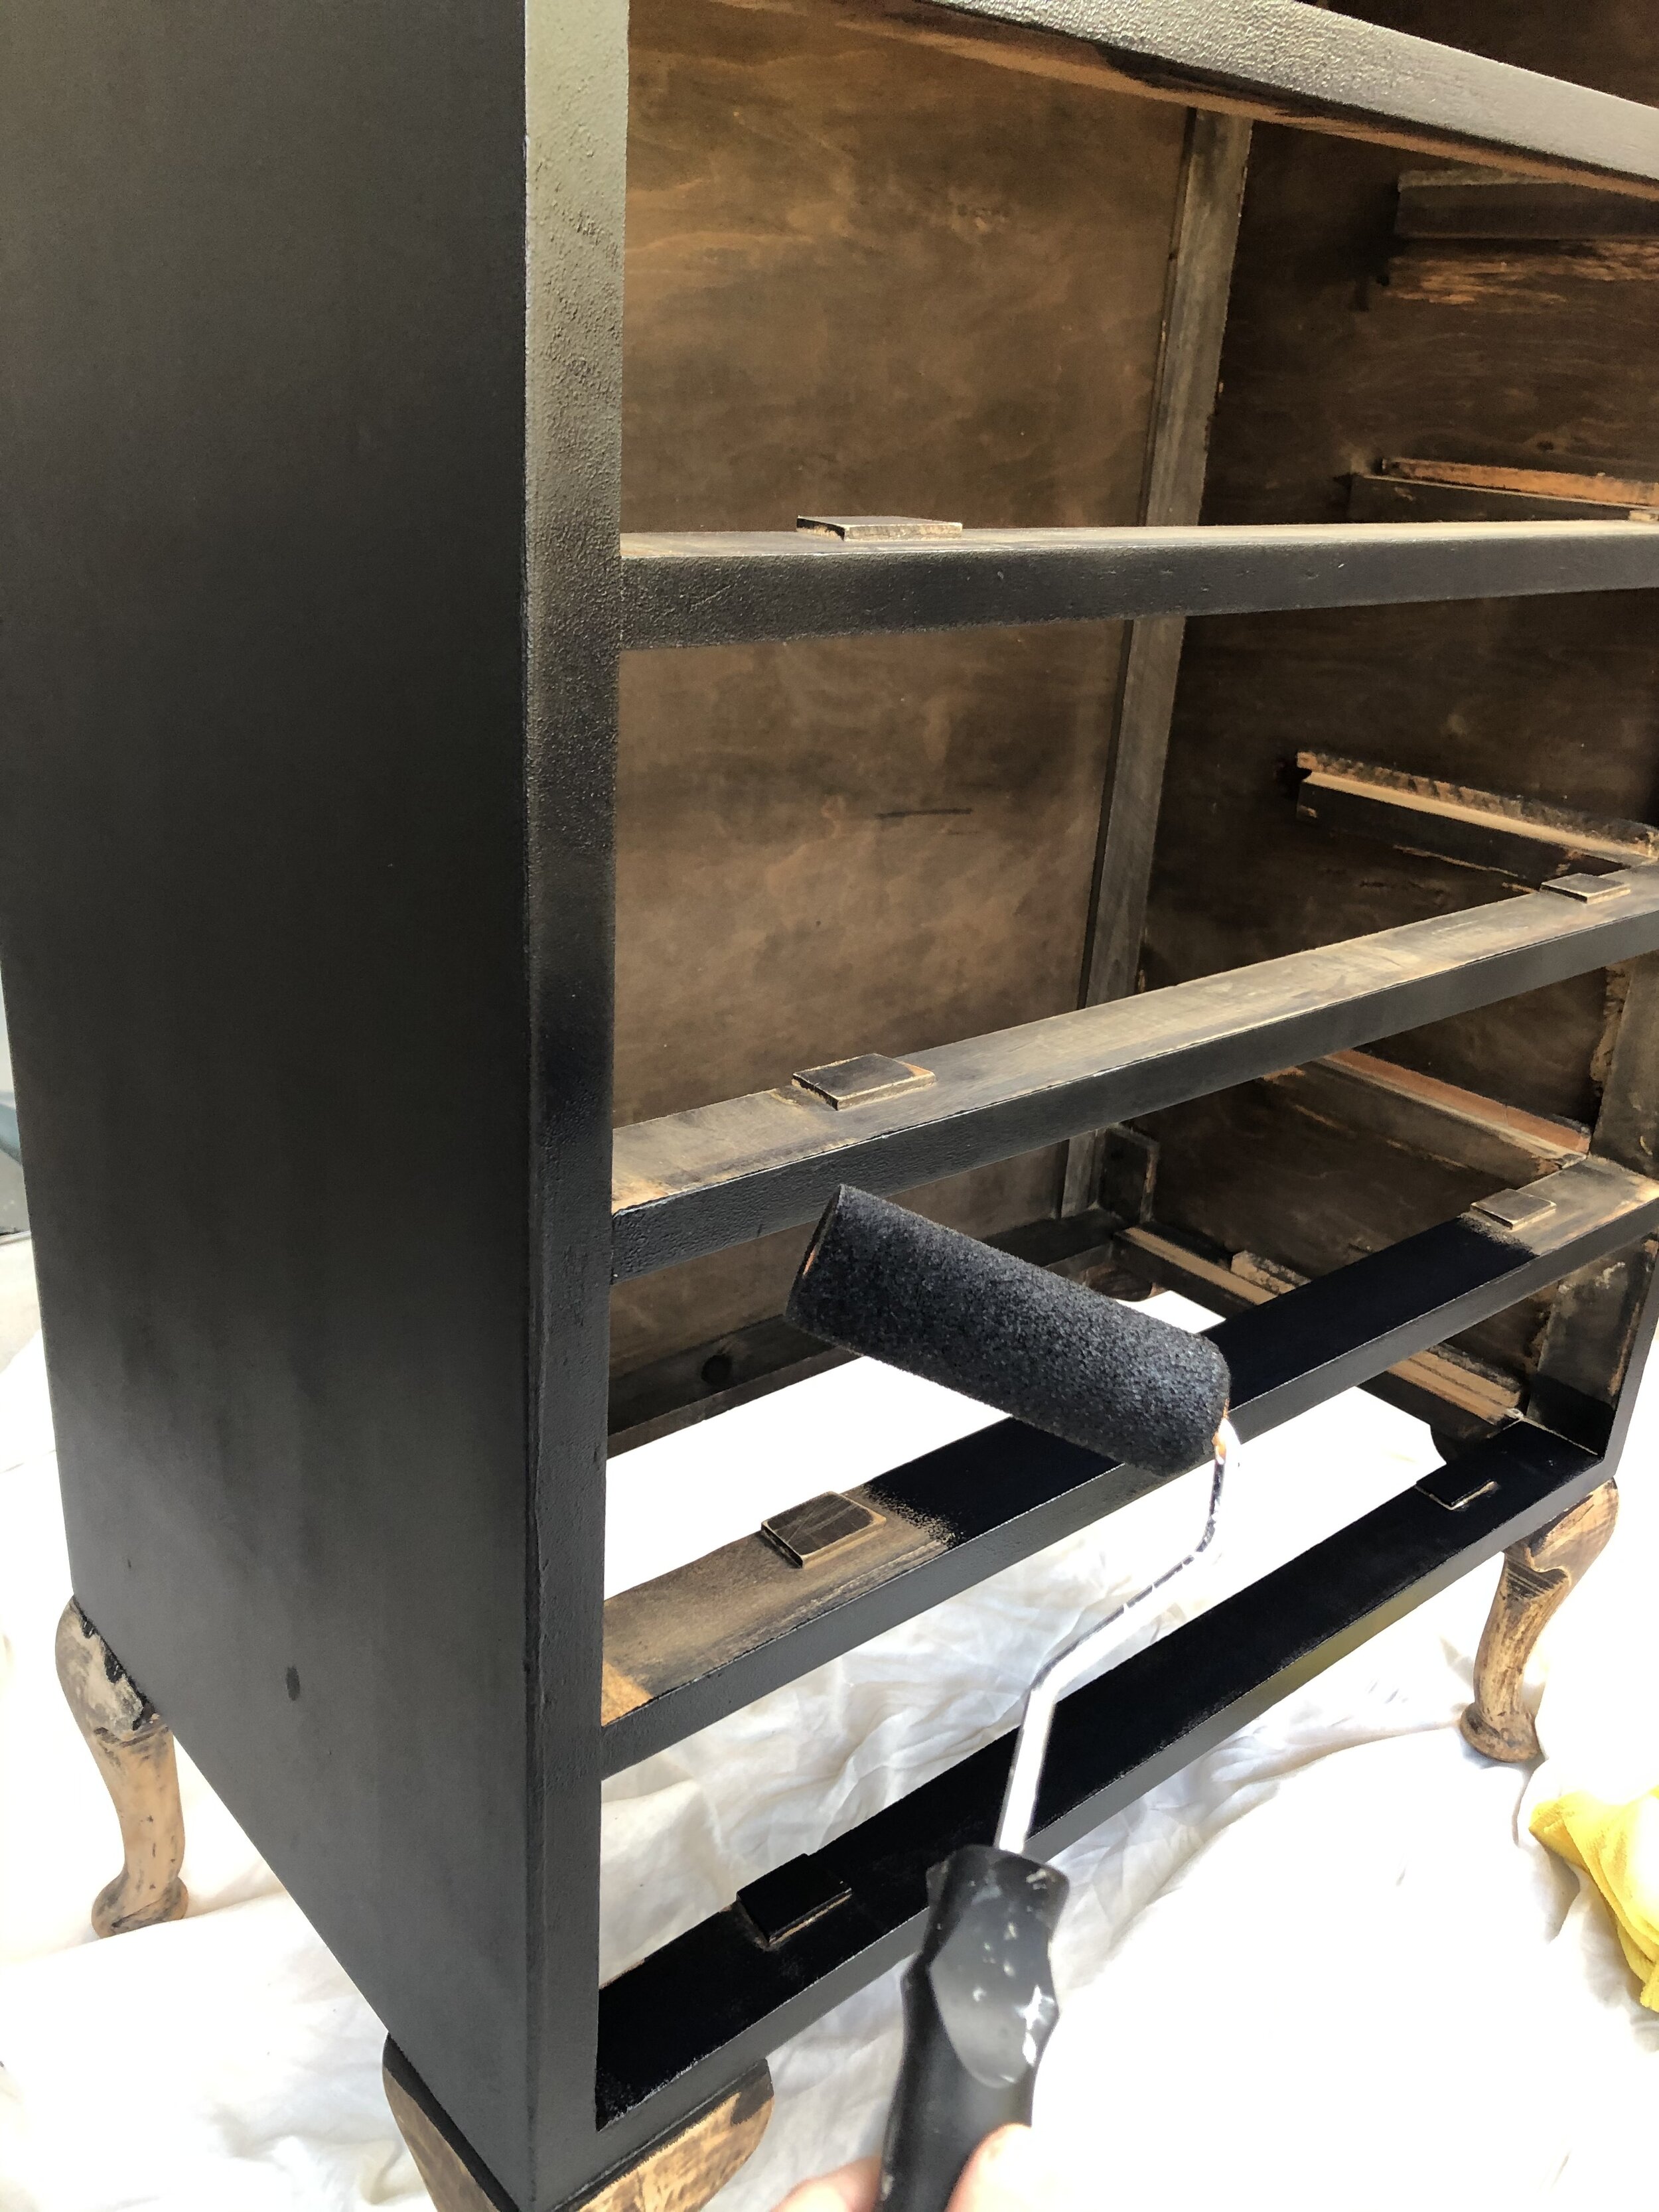
Step 3: Painting. After I had sanded everything down and done the repair work, I started the painting. I chose to use black Fusion Mineral paint as it doesn’t need a primer. It is a lovely paint to work with, no fumes, not too thick and a lovely matte finish.
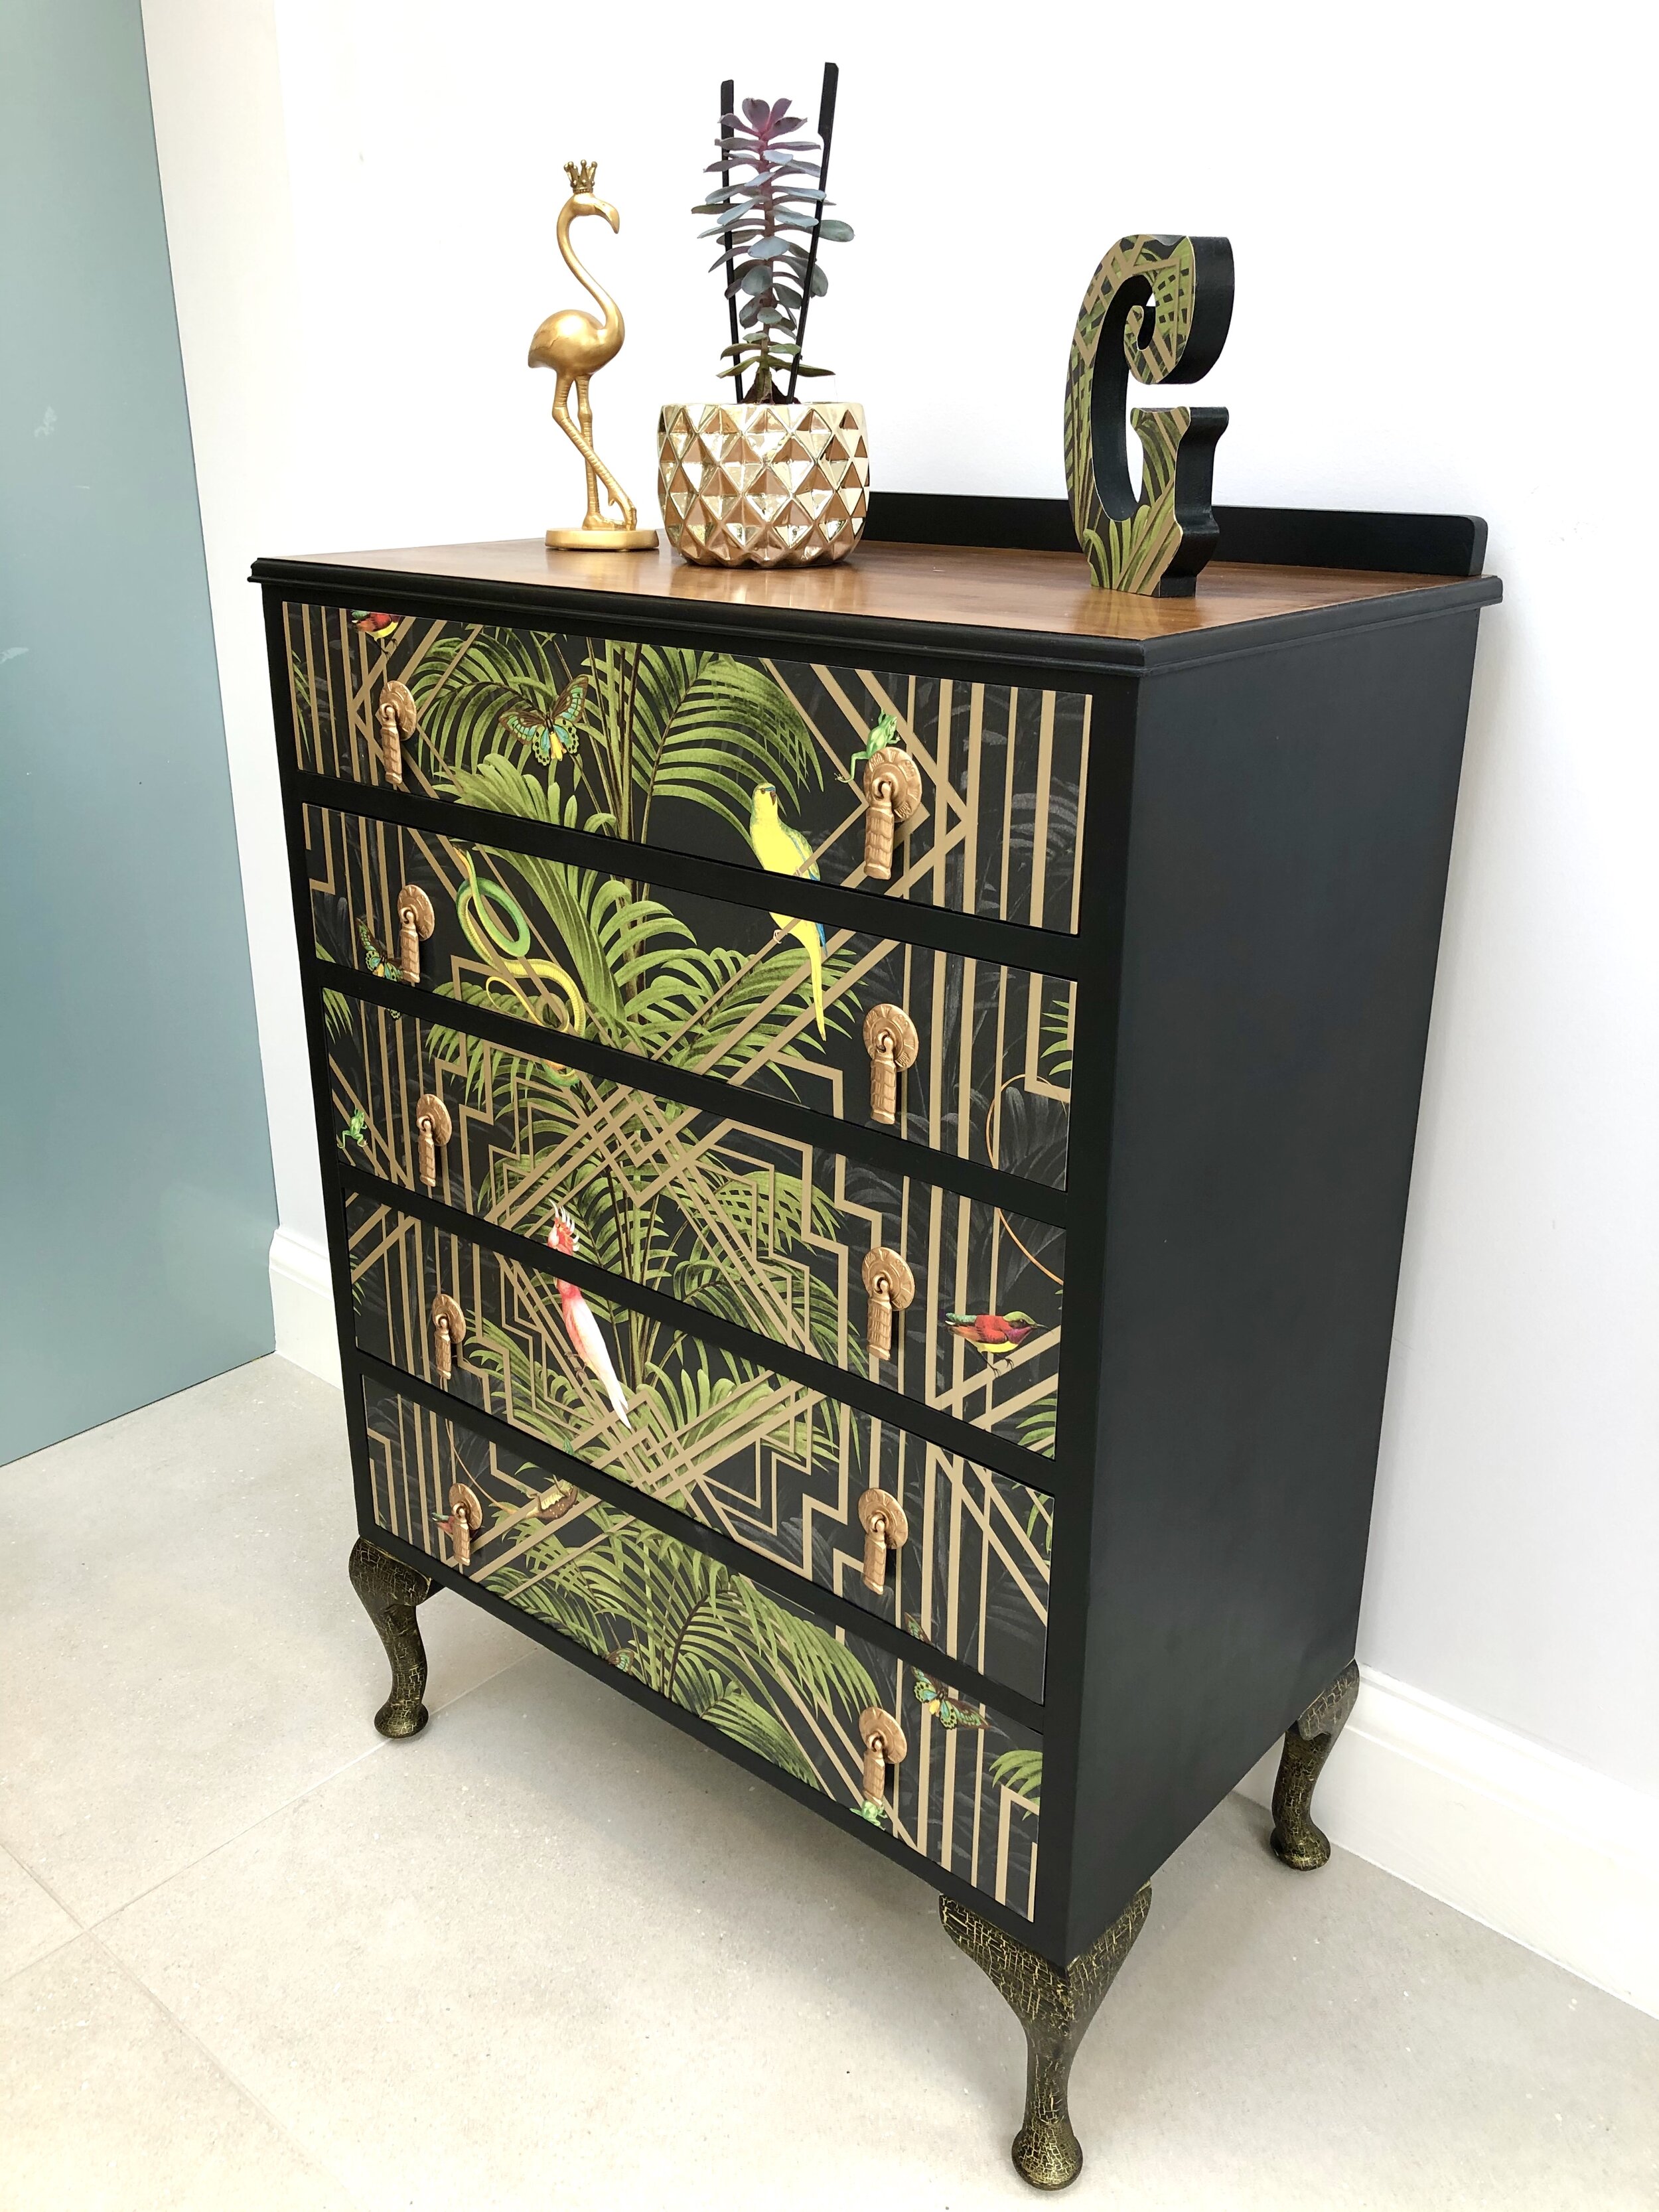
Sep 4: Decoupaging the drawers and crackle painting the legs.
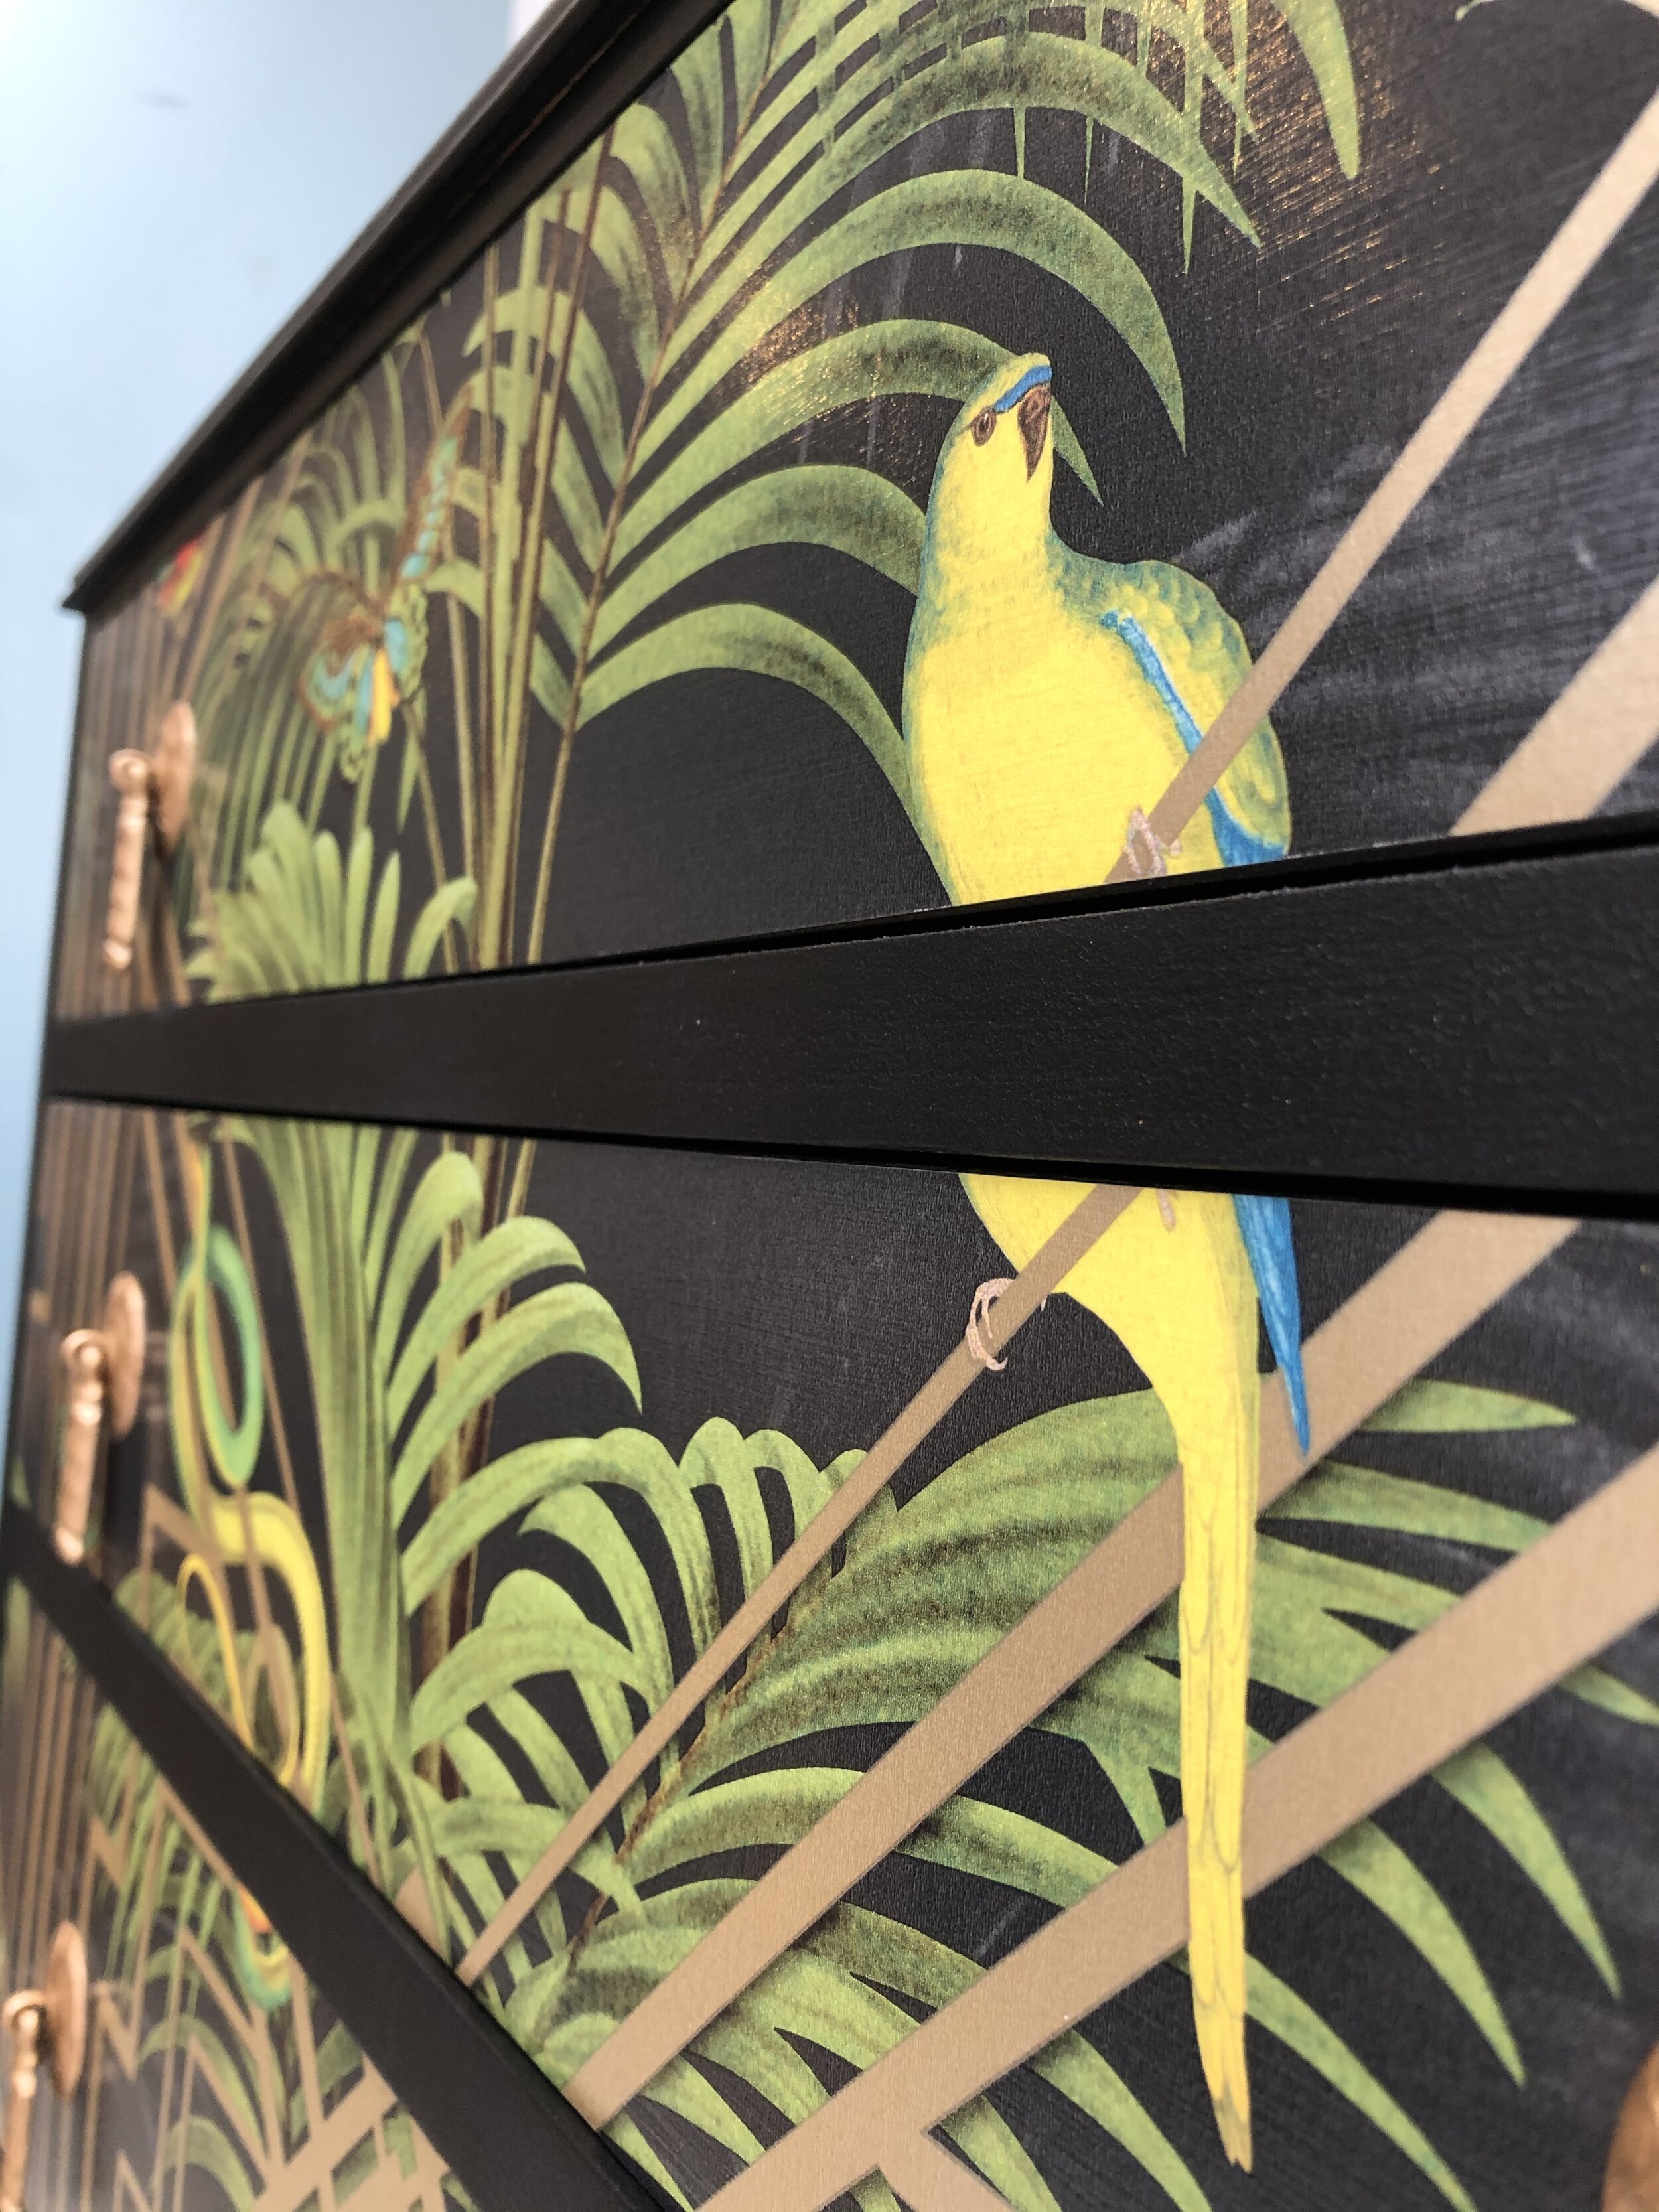
I used Congo Geometric Wallpaper and 5 layers of Mod Podge Satin varnish to decoupage the drawers.
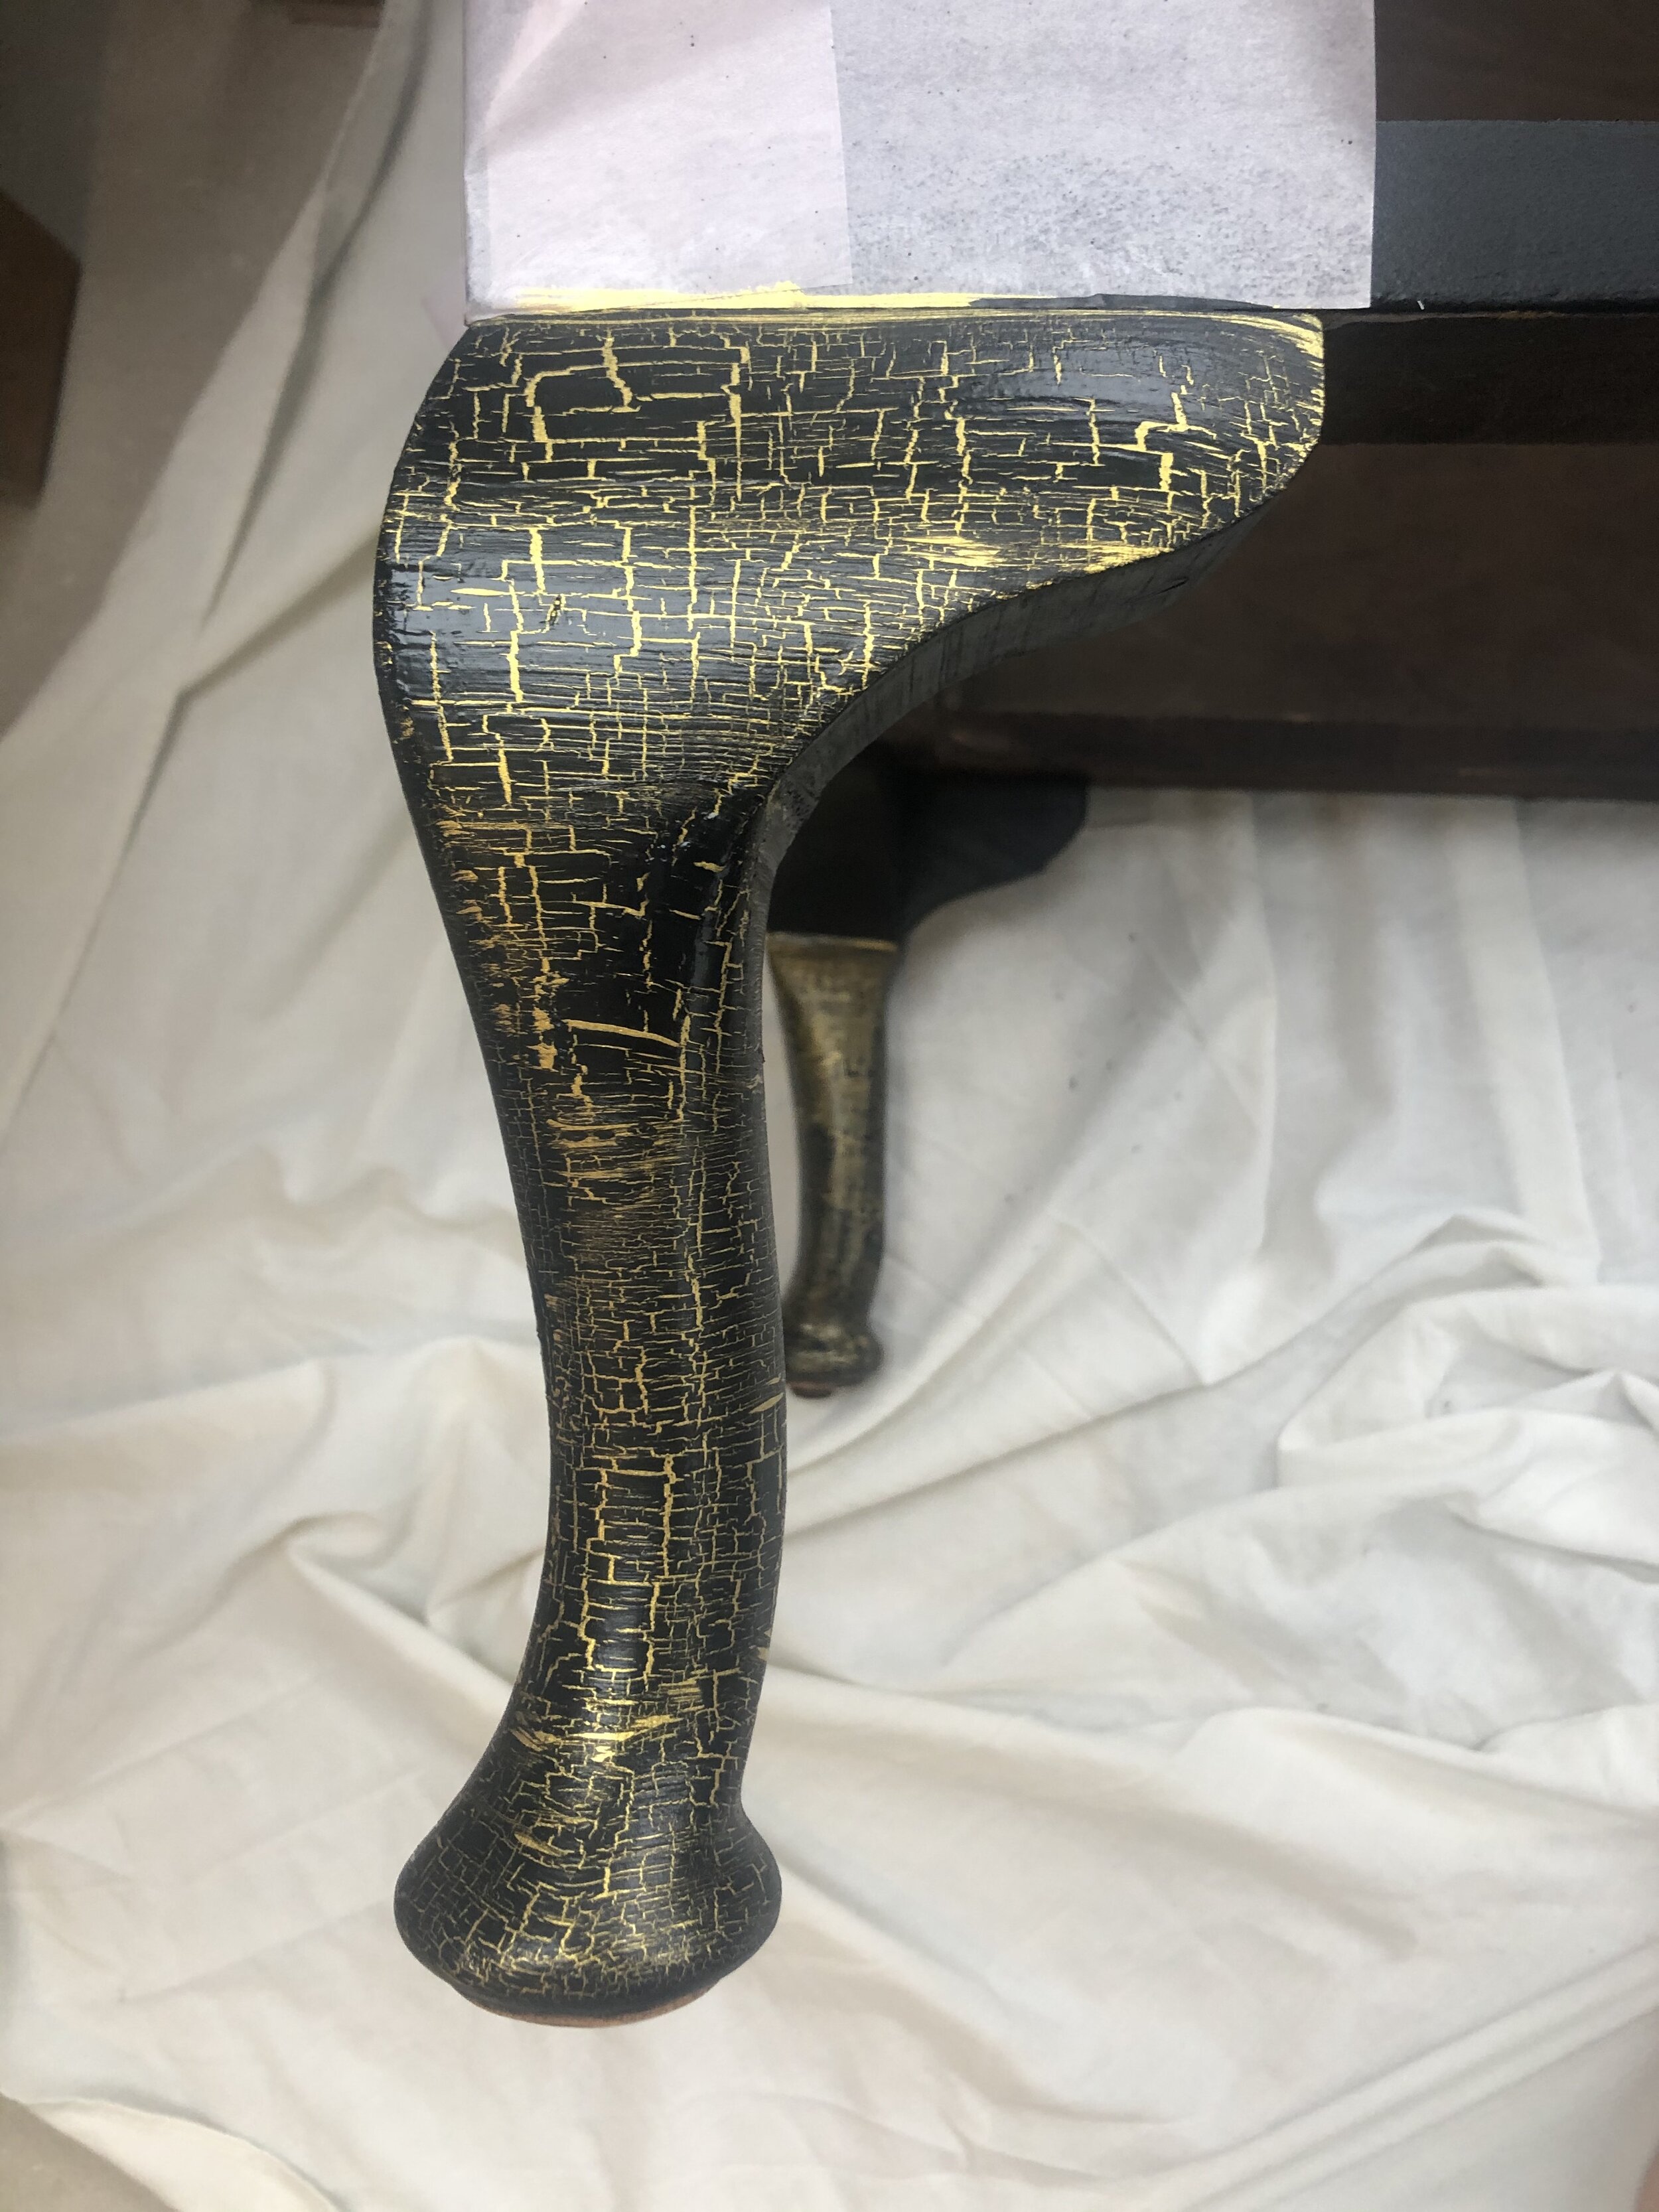
For the legs, I painted them in a bright gold acrylic, then painted over a layer of crackle glaze and finally a layer of black Fusion Mineral Paint to achieve the crackle effect of the gold showing through the black. I’m not going to lie…the crackle glaze was tricky but I’m really pleased with the result.
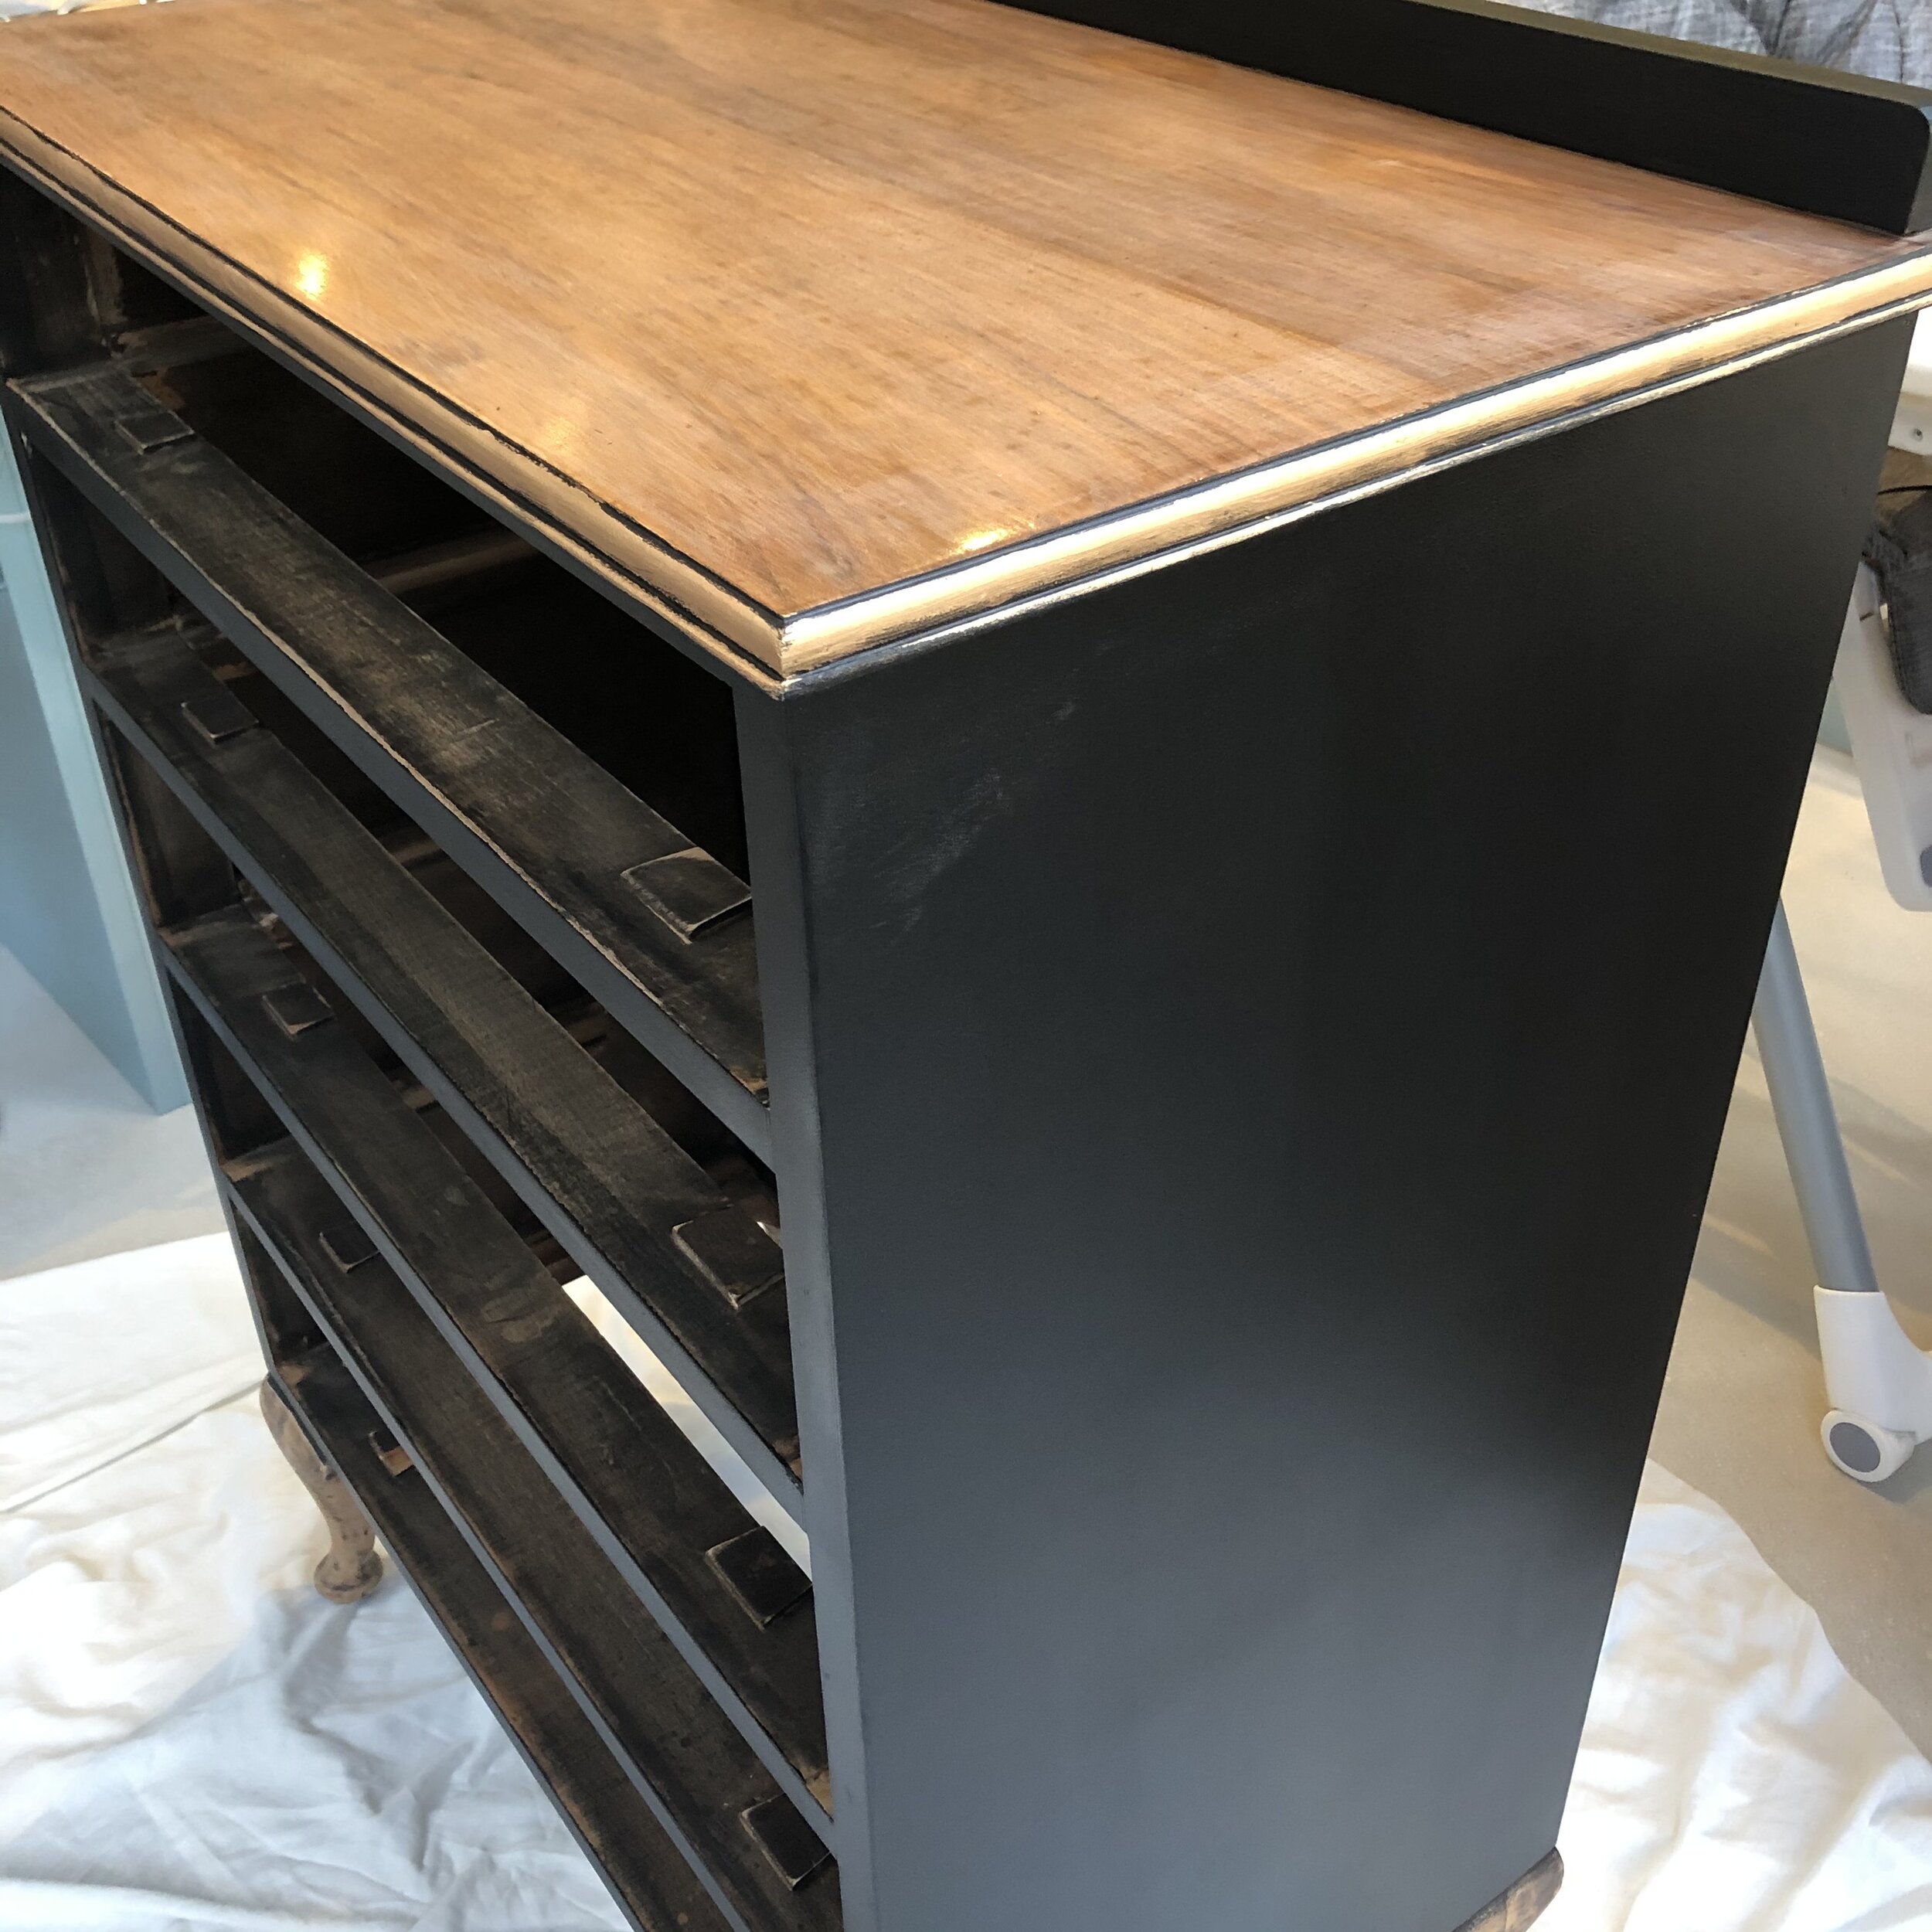
Step 5: Waxing
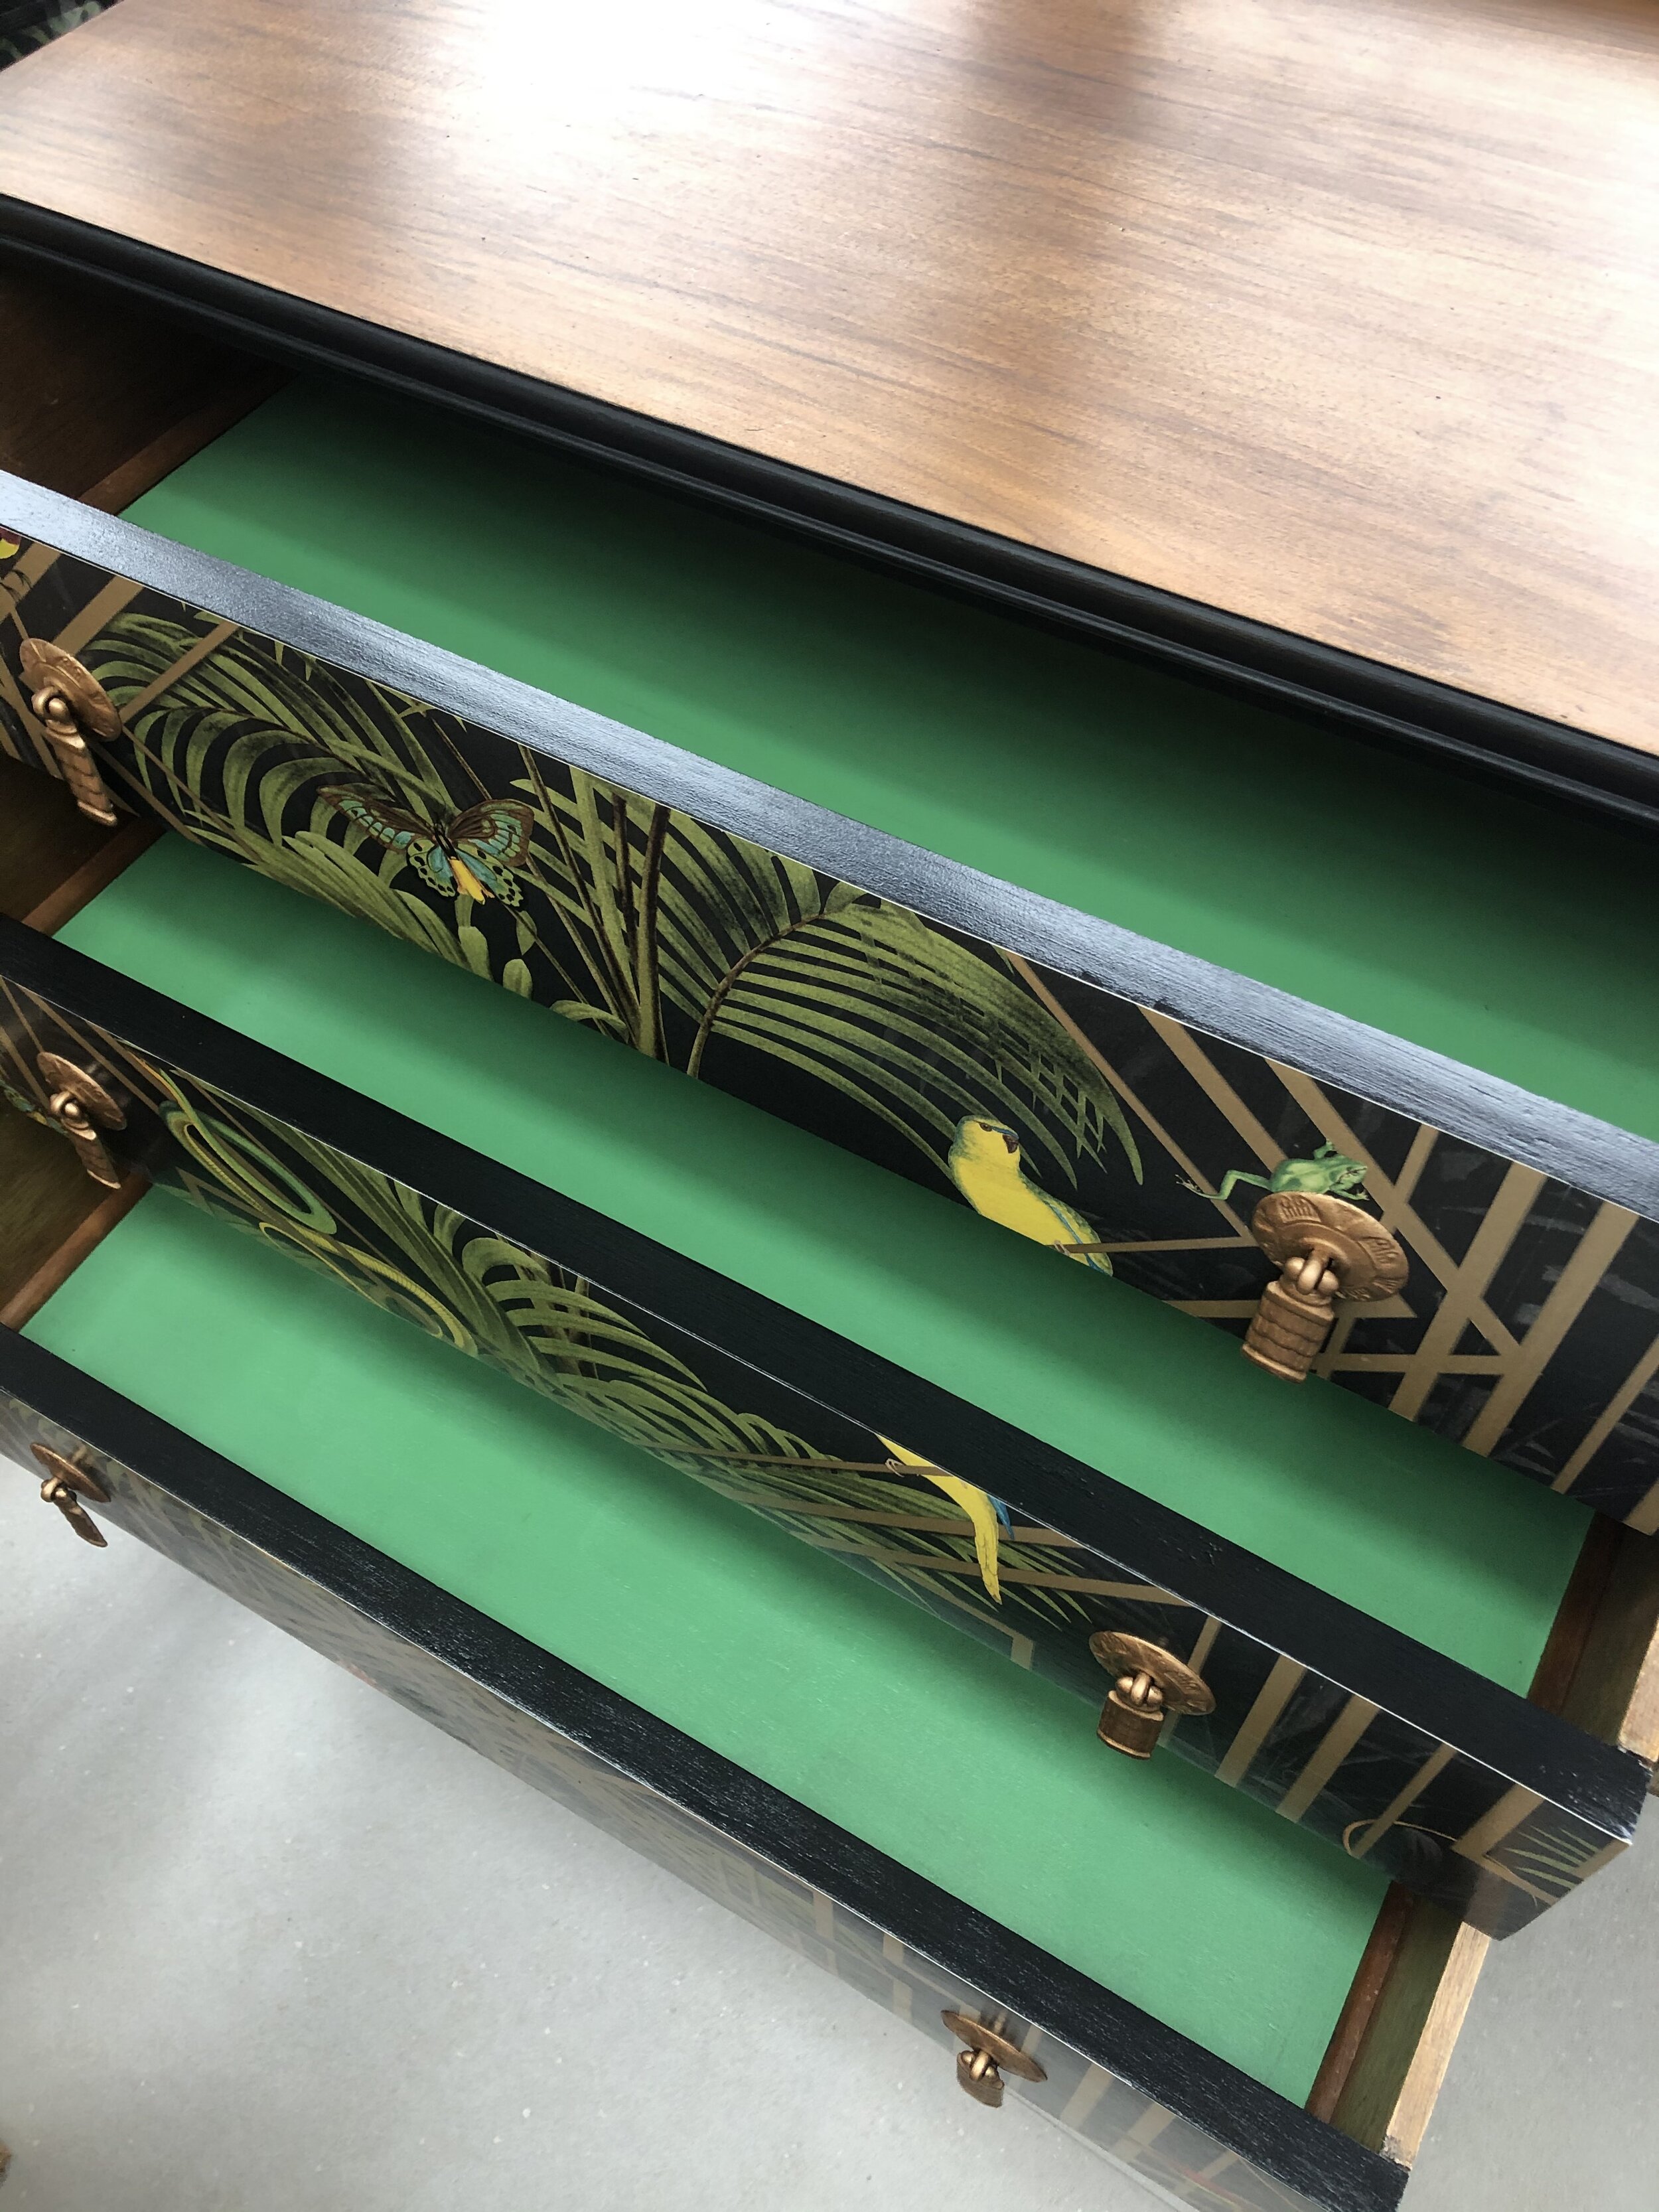
I applied approximately 10 coats of Beeswax to the top of the chest of drawers which I had left as the bare wood - it was such a beautiful colour.
The rest of the black paintwork I coated in 3 layers of Annie Sloan Furniture Wax to seal the paintwork and give it a slight sheen.
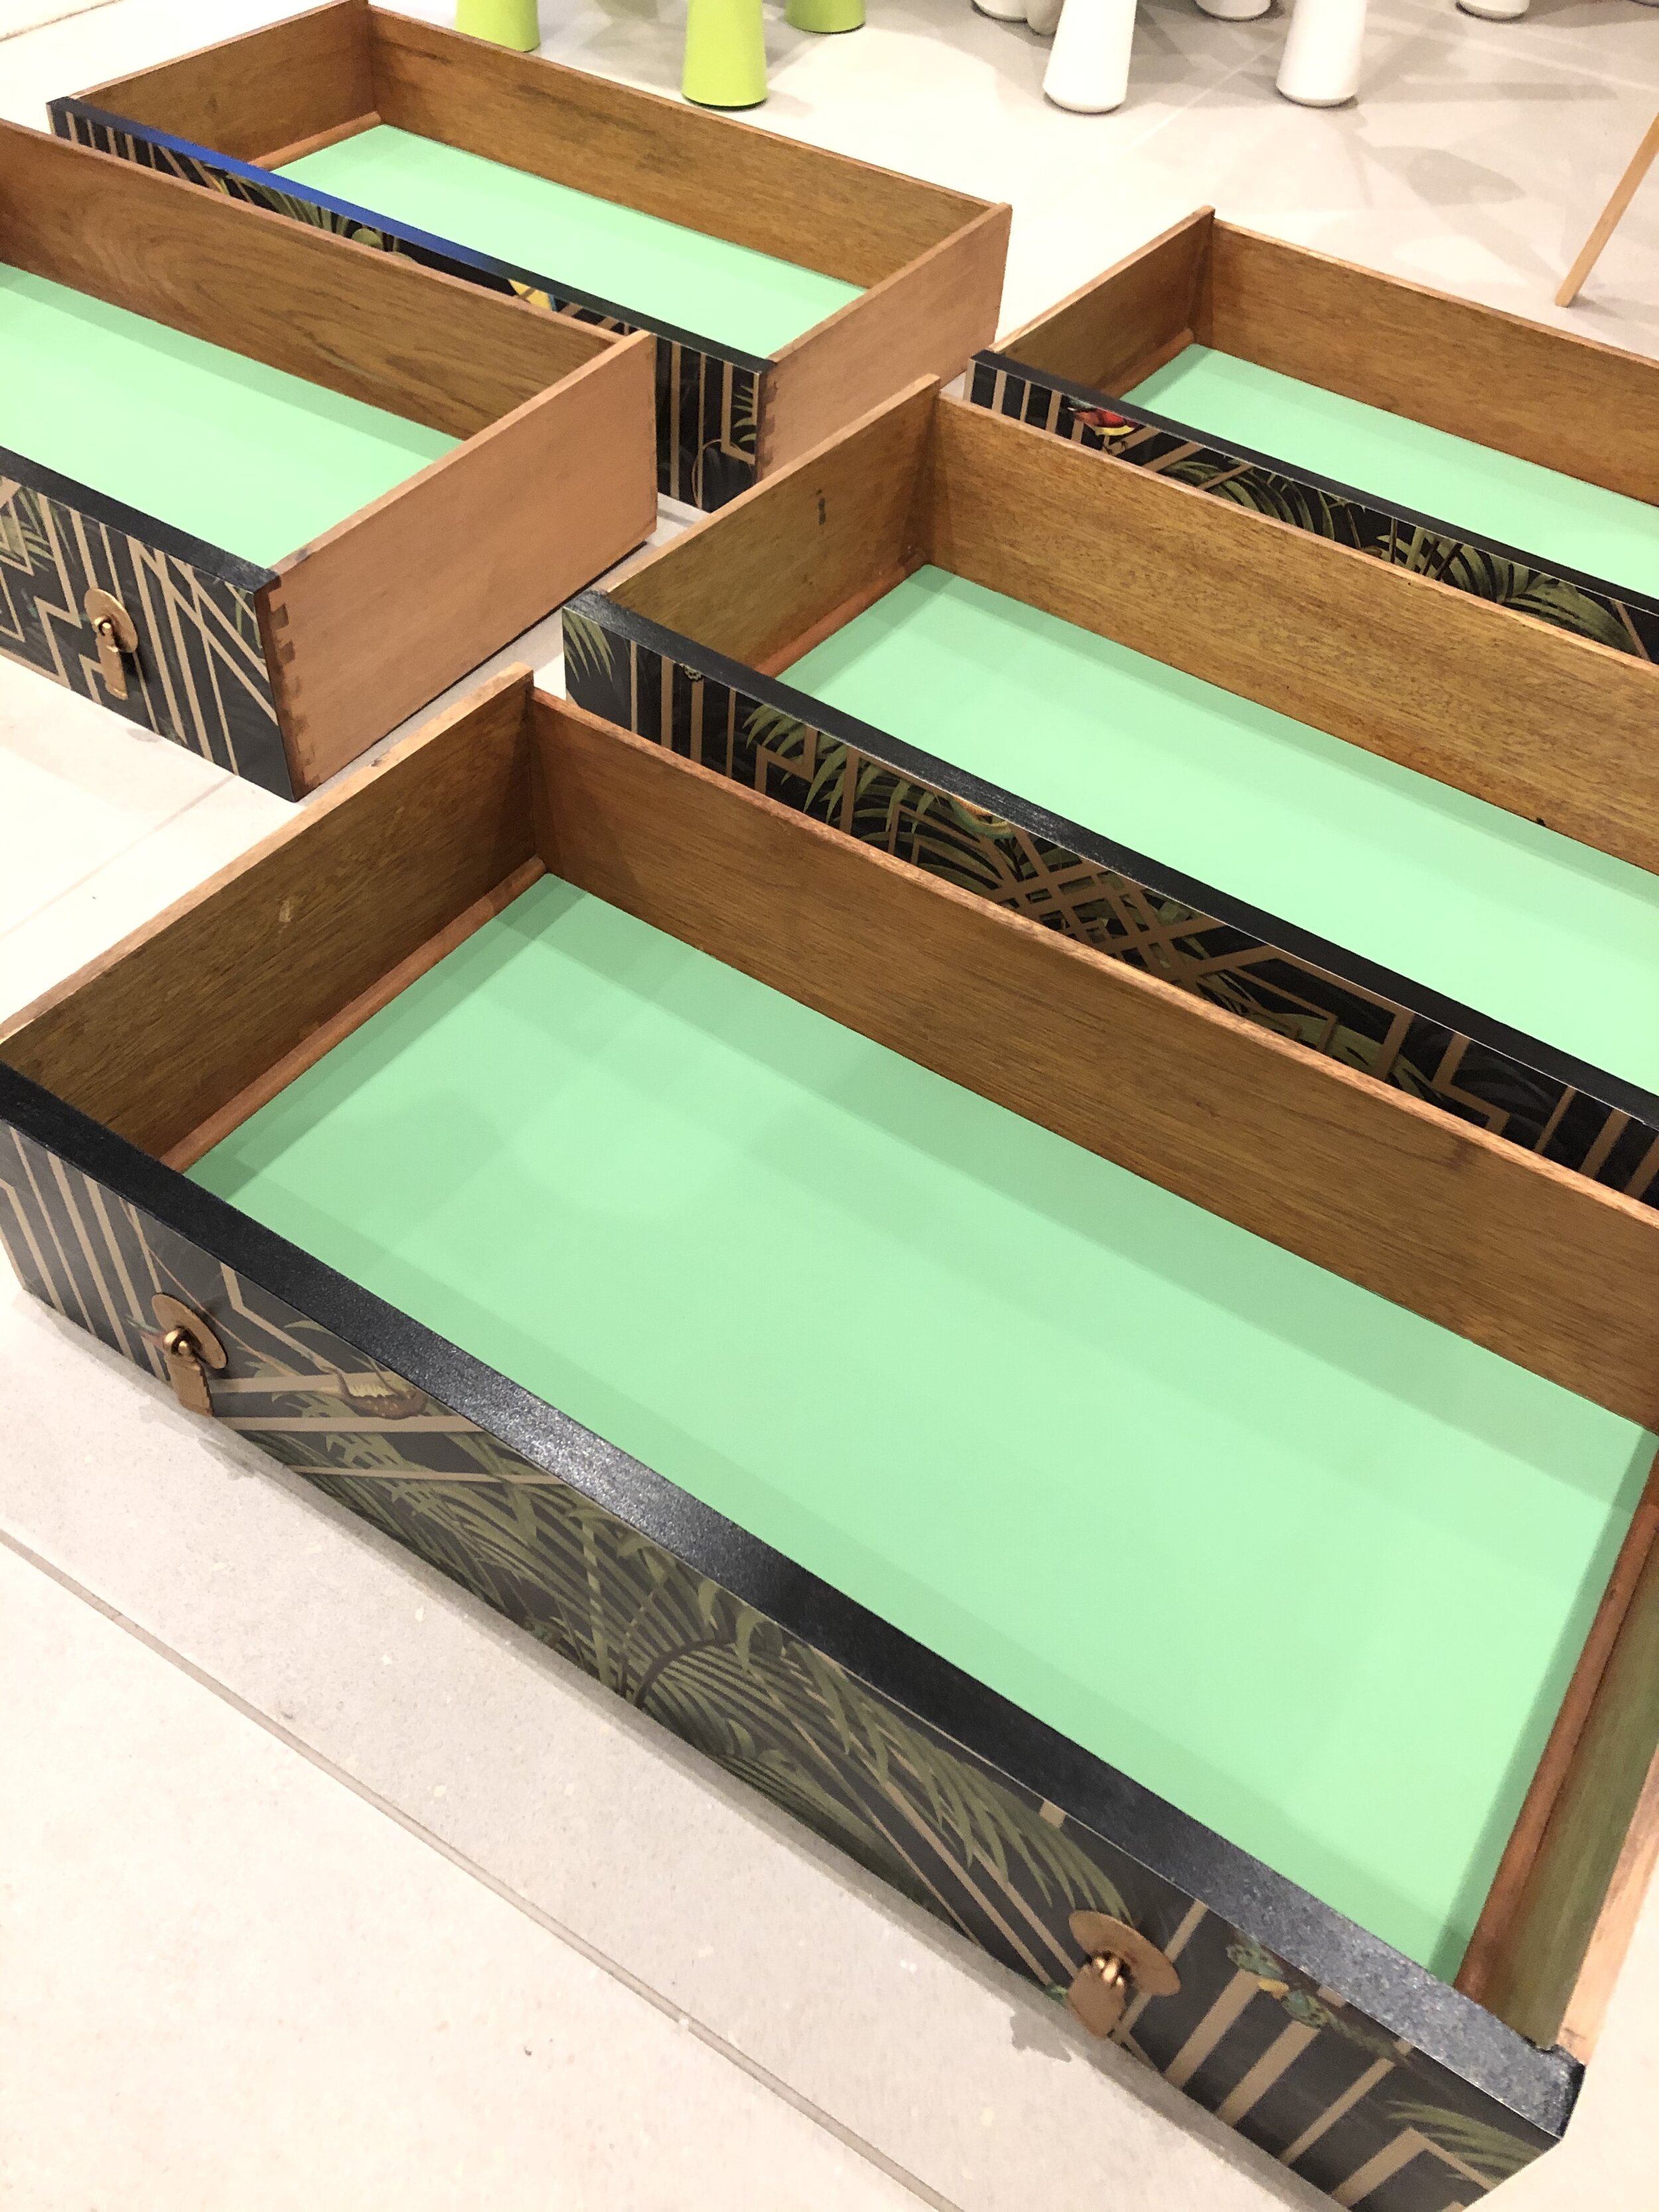
Step 6: Painting the inside of the drawers:
I painted these in green Annie Sloan Chalk Paint (followed by Mod Podge Satin) to match the green in the decoupage wallpaper on the front. It’s a nice surprise when you open the drawers!
And there you go!